2015
Creatures
From among all the animation techniques available at the present time I acknowledge stop-motion as my best option as it happens to work in perfectly with my own particular artistic approach. I find it both fascinating and exhilarating to see how a style of animation based on technical methods first developed in the early decades of the 1900’s still has the capacity to grow and evolve.
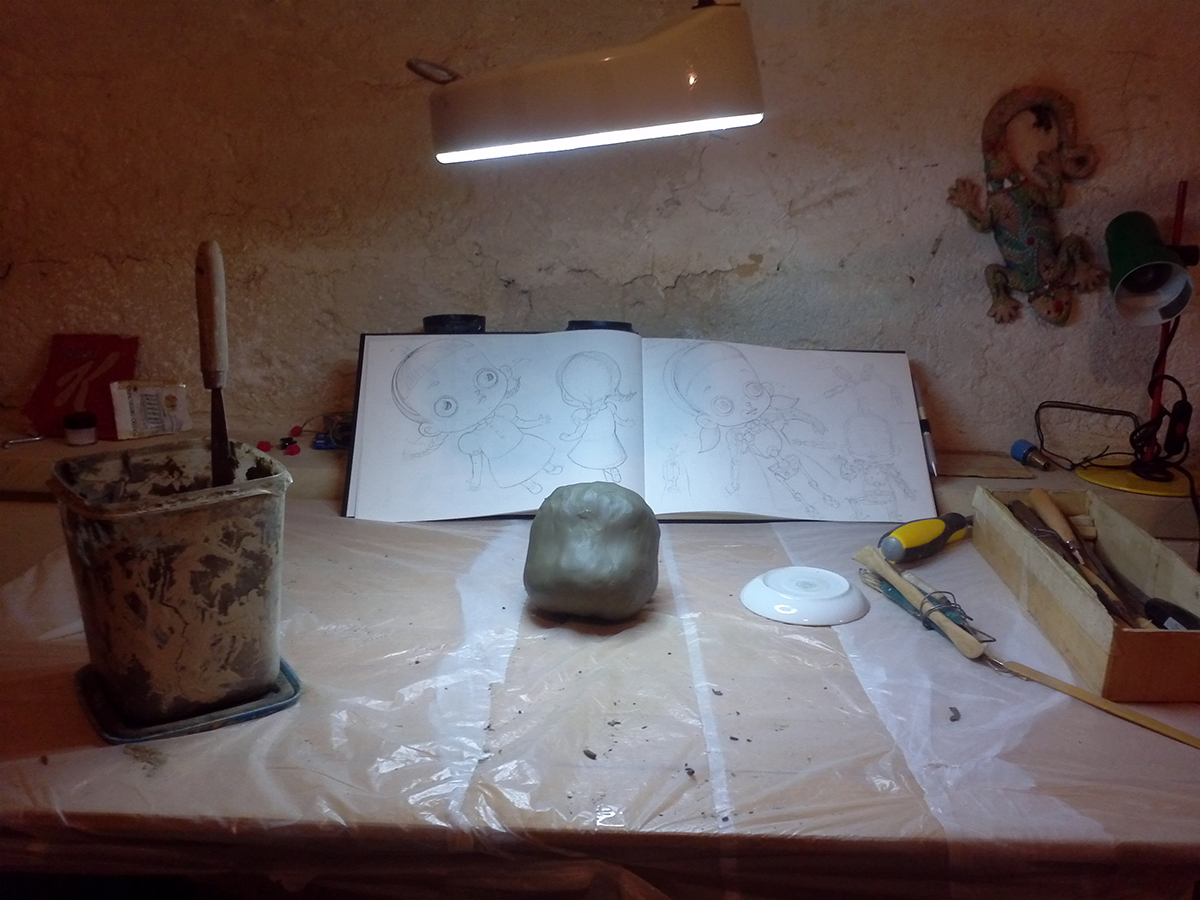
If stop motion still in the avant-garde to-day is it not in great part due to Digital and IT? My plan of action began with organizing my work space. Before long I had setup a little workshop not too far from my home.
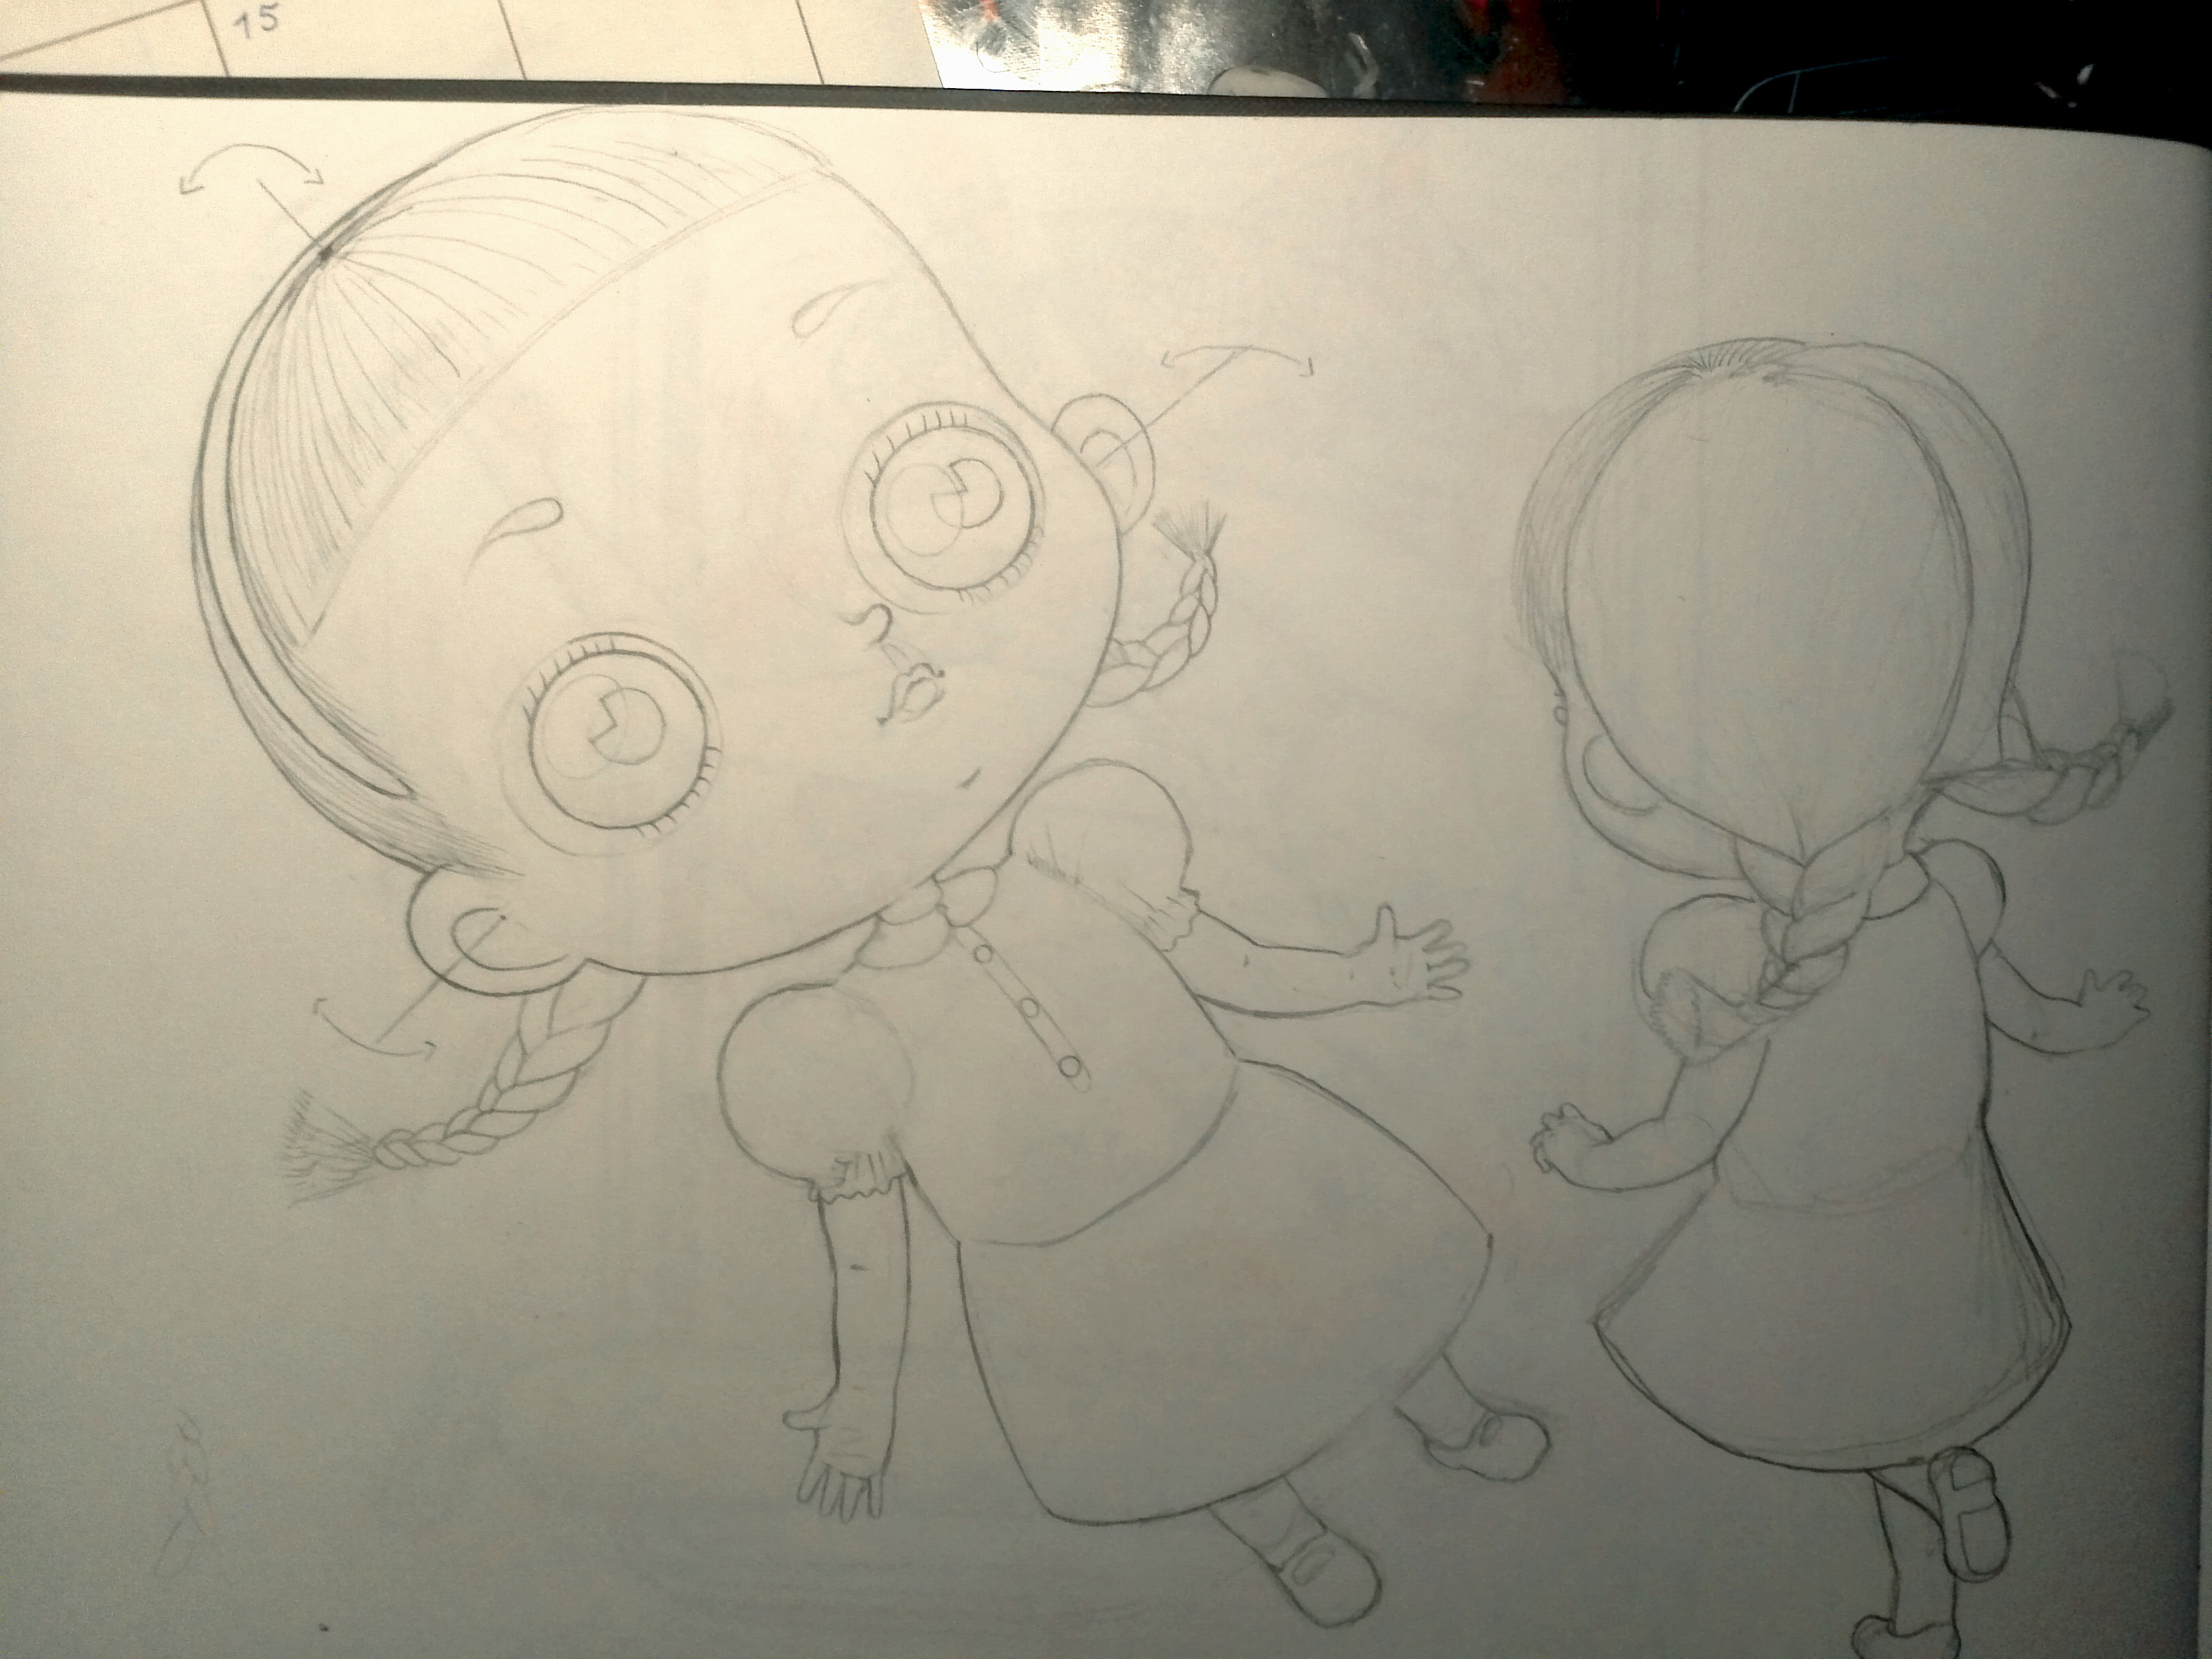
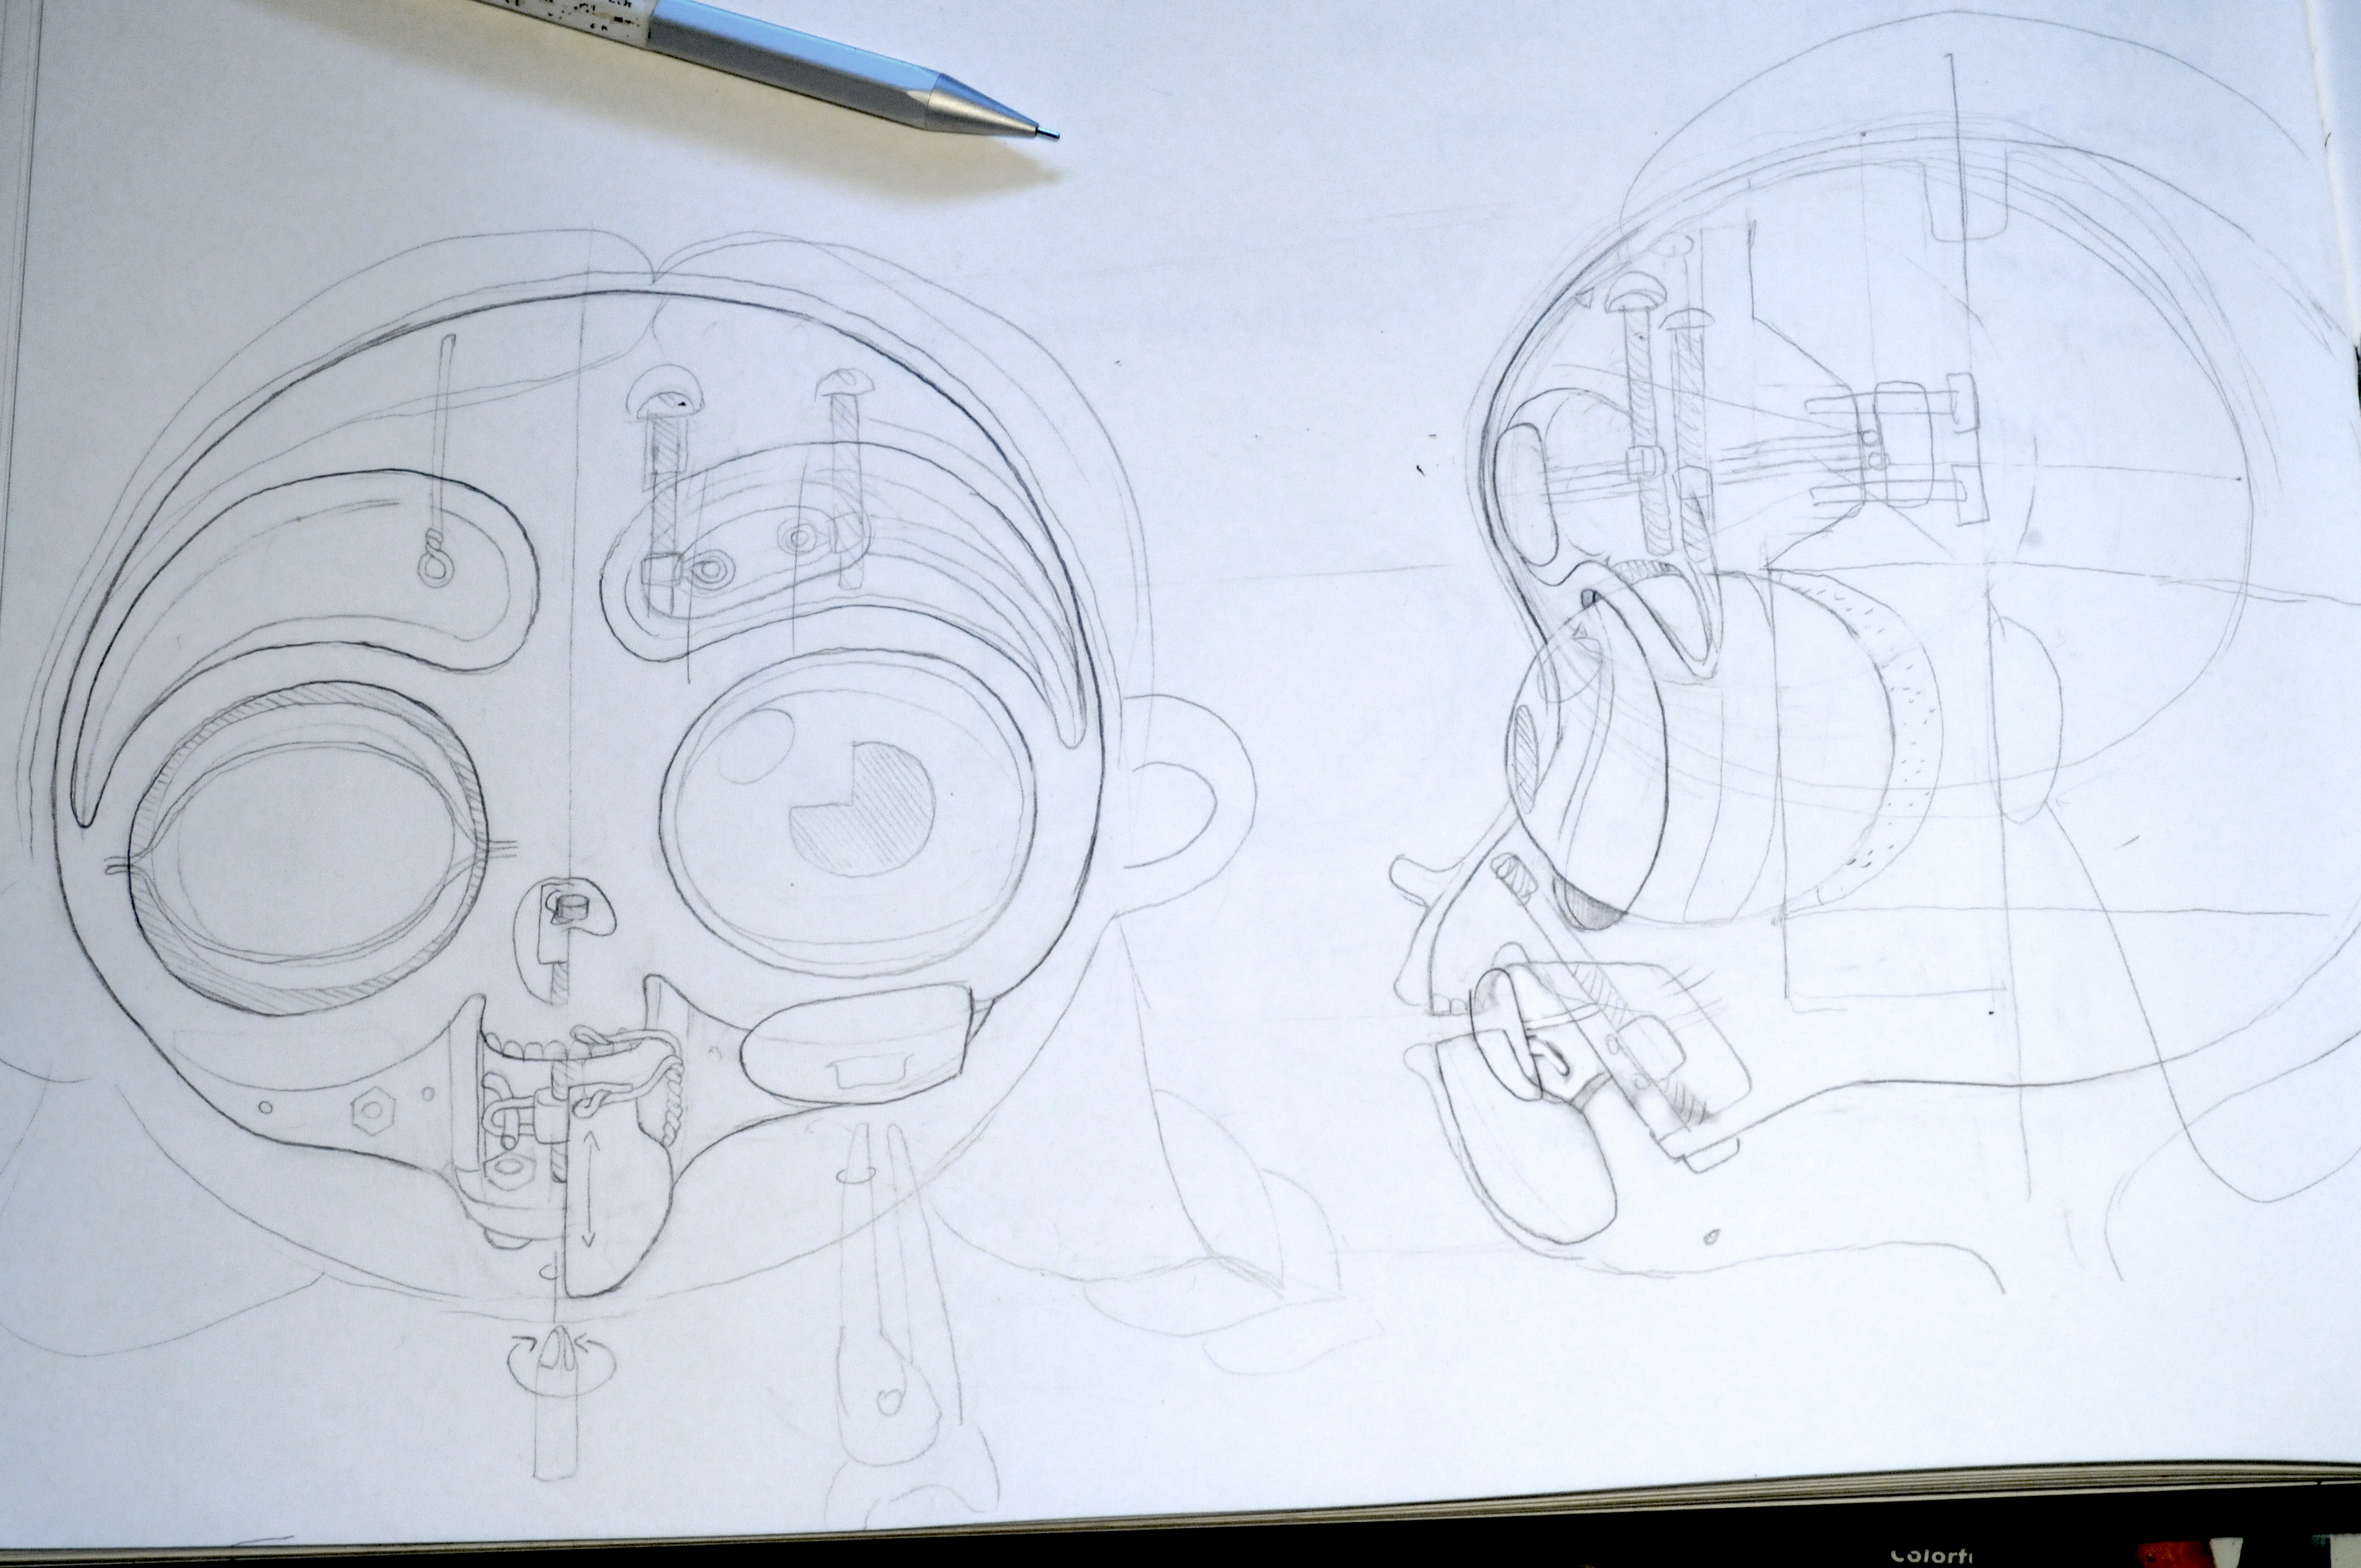
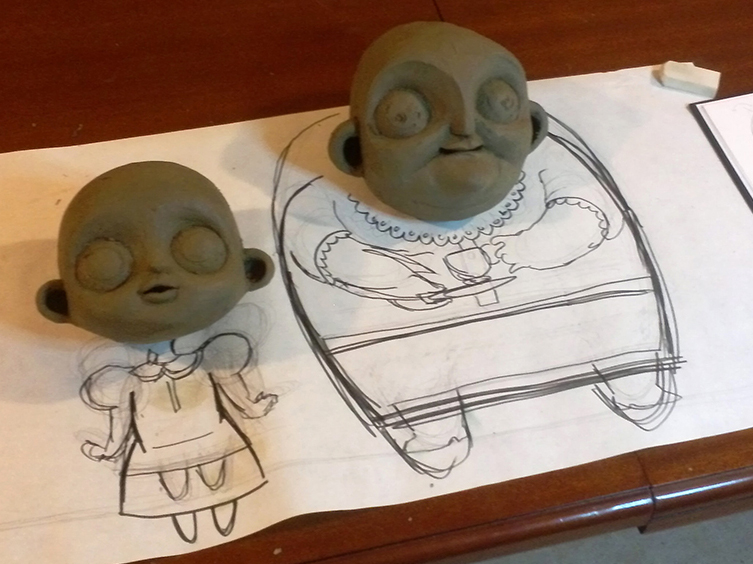
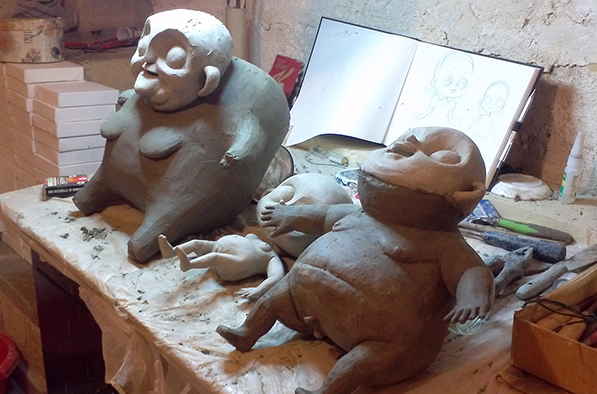
In peace and quiet I’d sit there and in my head start to run through all possible fantastical settings for my animation characters. The physical ambience and the atmosphere in which they’d move around, interact and ‘recite’. The style of their dress and the colours palette used. These general questions occupied my mind before setting down to work out the finer details. I came to elaborate each character individually; each was to have his or her own personality clearly separate and defined.
Physically it was not just their size and demeanor that had to be determined but also I had to foresee and design the internal mechanism which I would have to construct manually and insert into each and all. These internal mechanisms would provide them with the gift of movement and essentially that ability to move would be at the basis of their life force. A practical solution to all of these problems was required and in the cerebral search for solutions my project came to be elaborated in ever greater detail. Establishing a valid procedure for the actual construction of my cartoon characters as ‘dolls’ would allow me to advance in the project to another stage.
The project
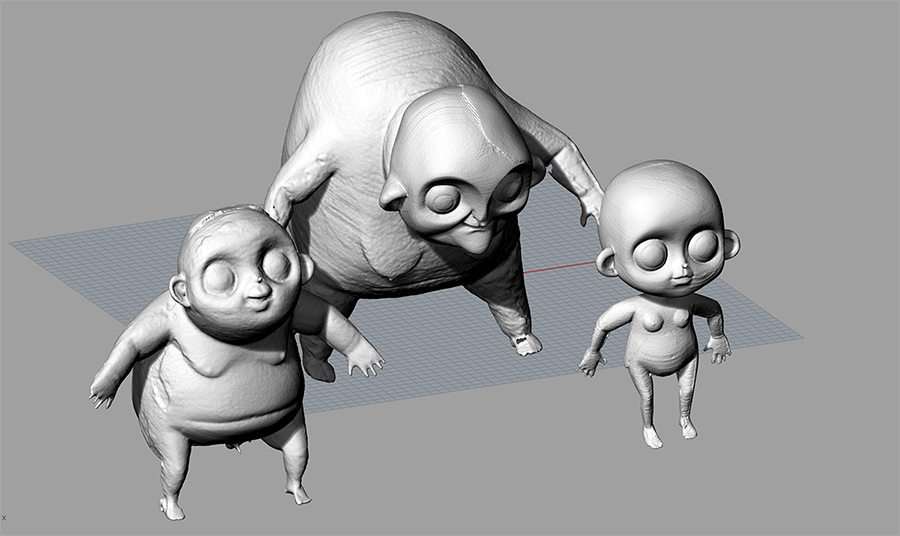
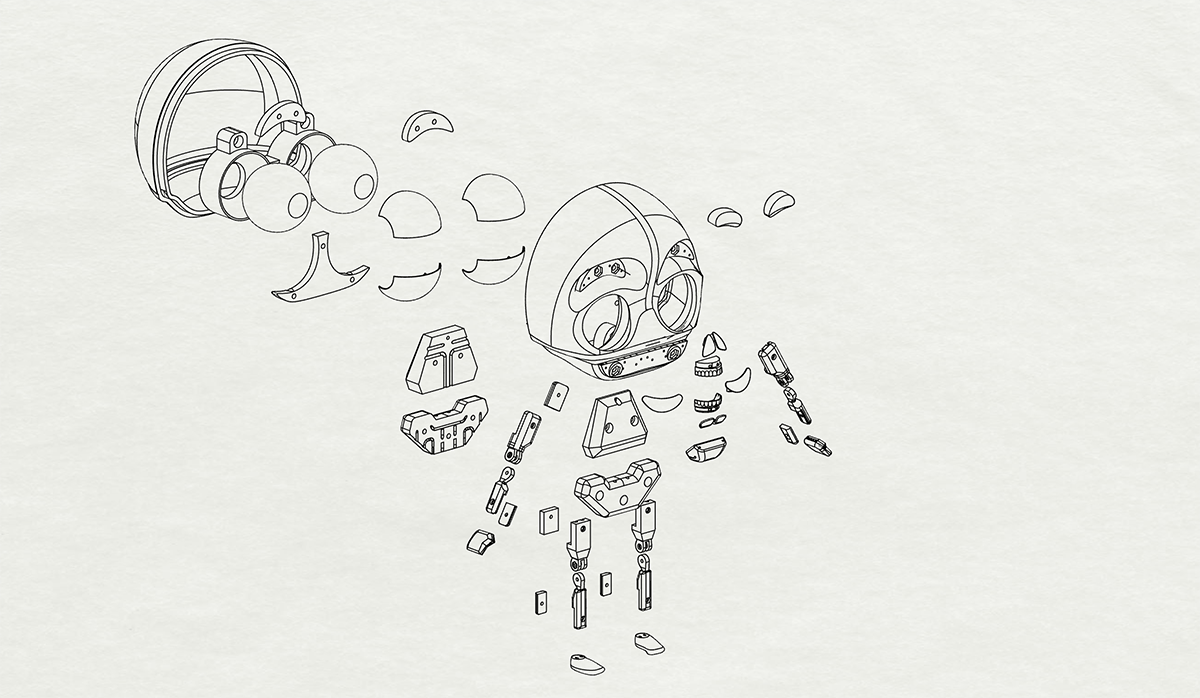
I knew at this point that it was necessary to get my characters to ‘move house'; out of the physical and into the virtual. They had to be relocated into a digital environment. It was there and there only that they could truly come to life. Also it was by transferring them over into a digital setting that I could get down to planning and designing their internal mechanical structure. I also knew that once I had elaborated a prototype model I’d then be able to construct a ‘mechanical skeleton’ for my characters with the use of a 3D printer.
Reverse engineering and rapid prototyping proved to be a great help and at the actual production stage the final results achieved using Silicone rubber were fantastic. This procedure allowed me to hand make most of the ‘doll’ parts and to materially assemble each ‘doll’ as a unique Art object which could be presented as such independently of their role in graphic animation.
Finally, I don’t mind admitting that in the course of this experimental project all of my skills as an ‘artisan’ have been tested to the full. Many false starts were abandoned and mistakes made and acknowledged along the way but in the end the satisfaction of achievement has been immense as well.
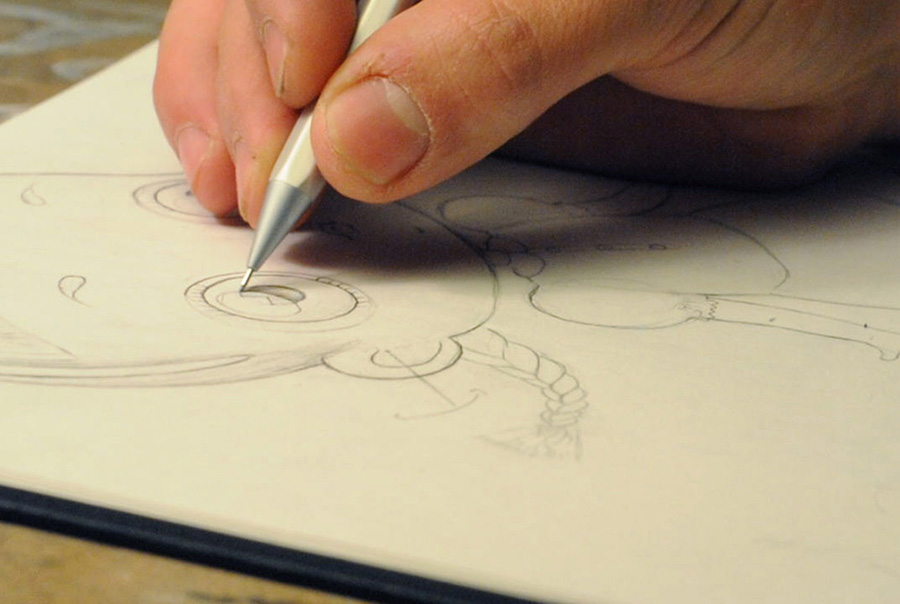
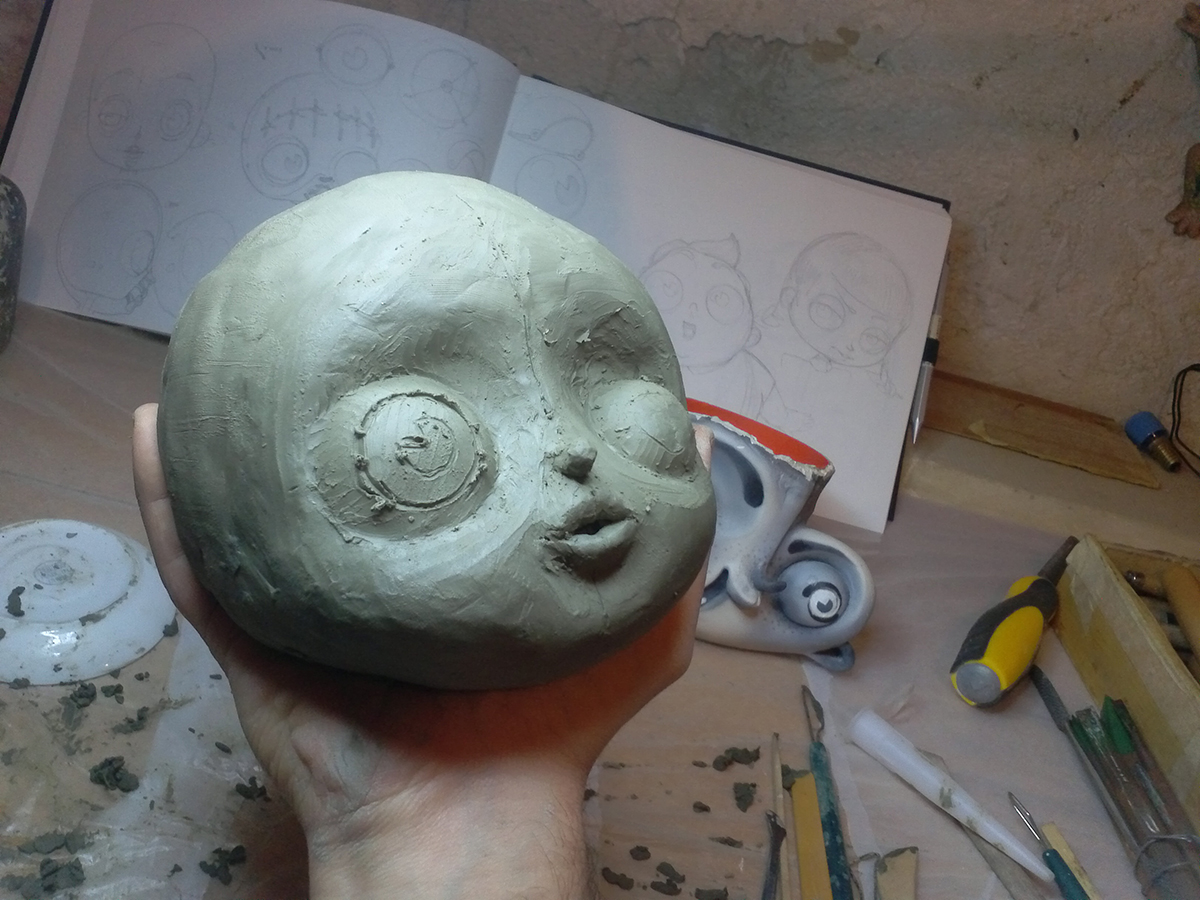
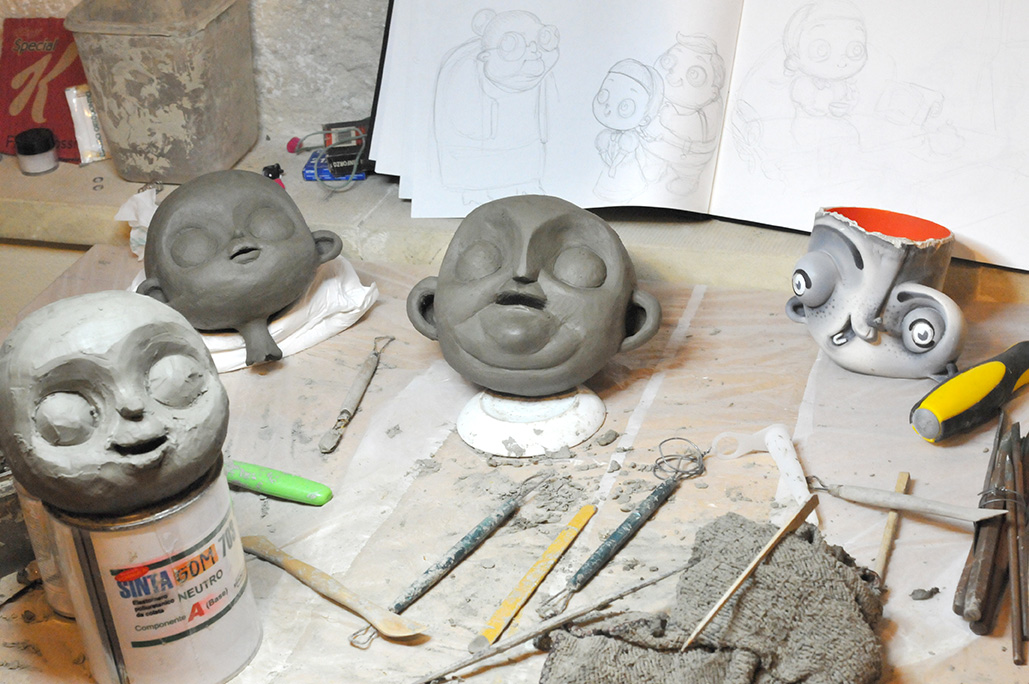
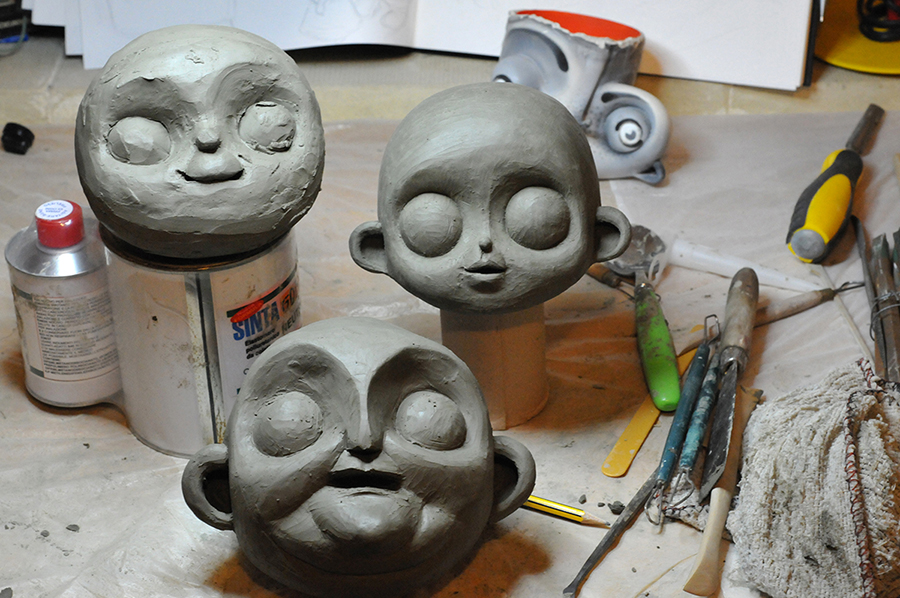
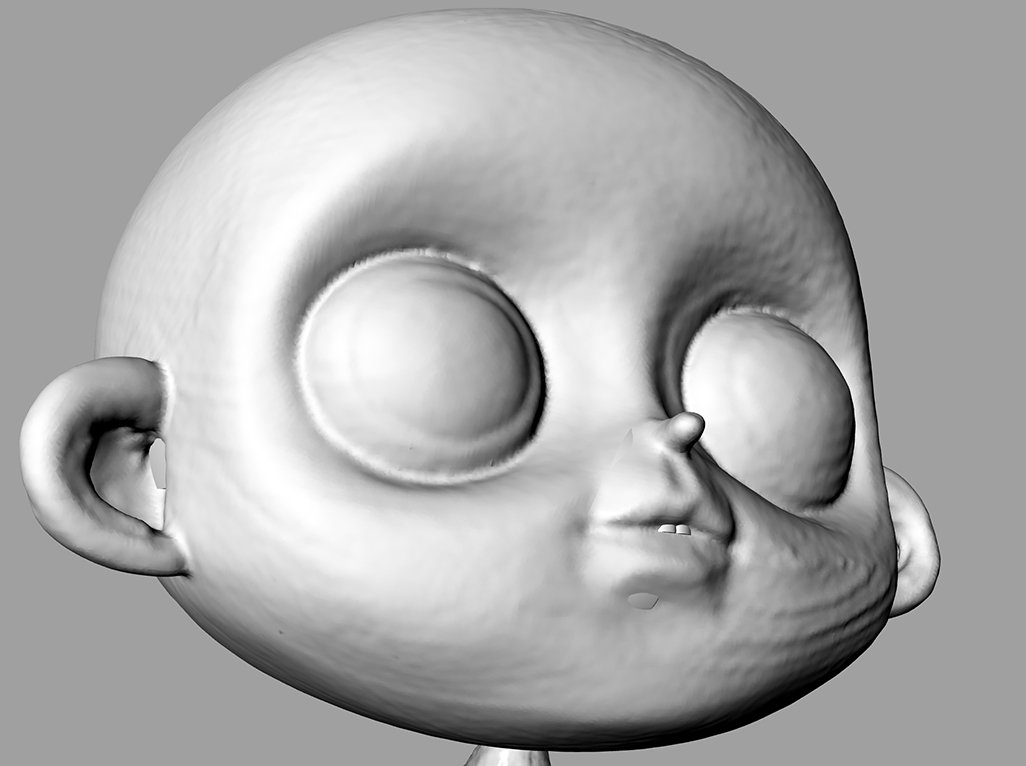
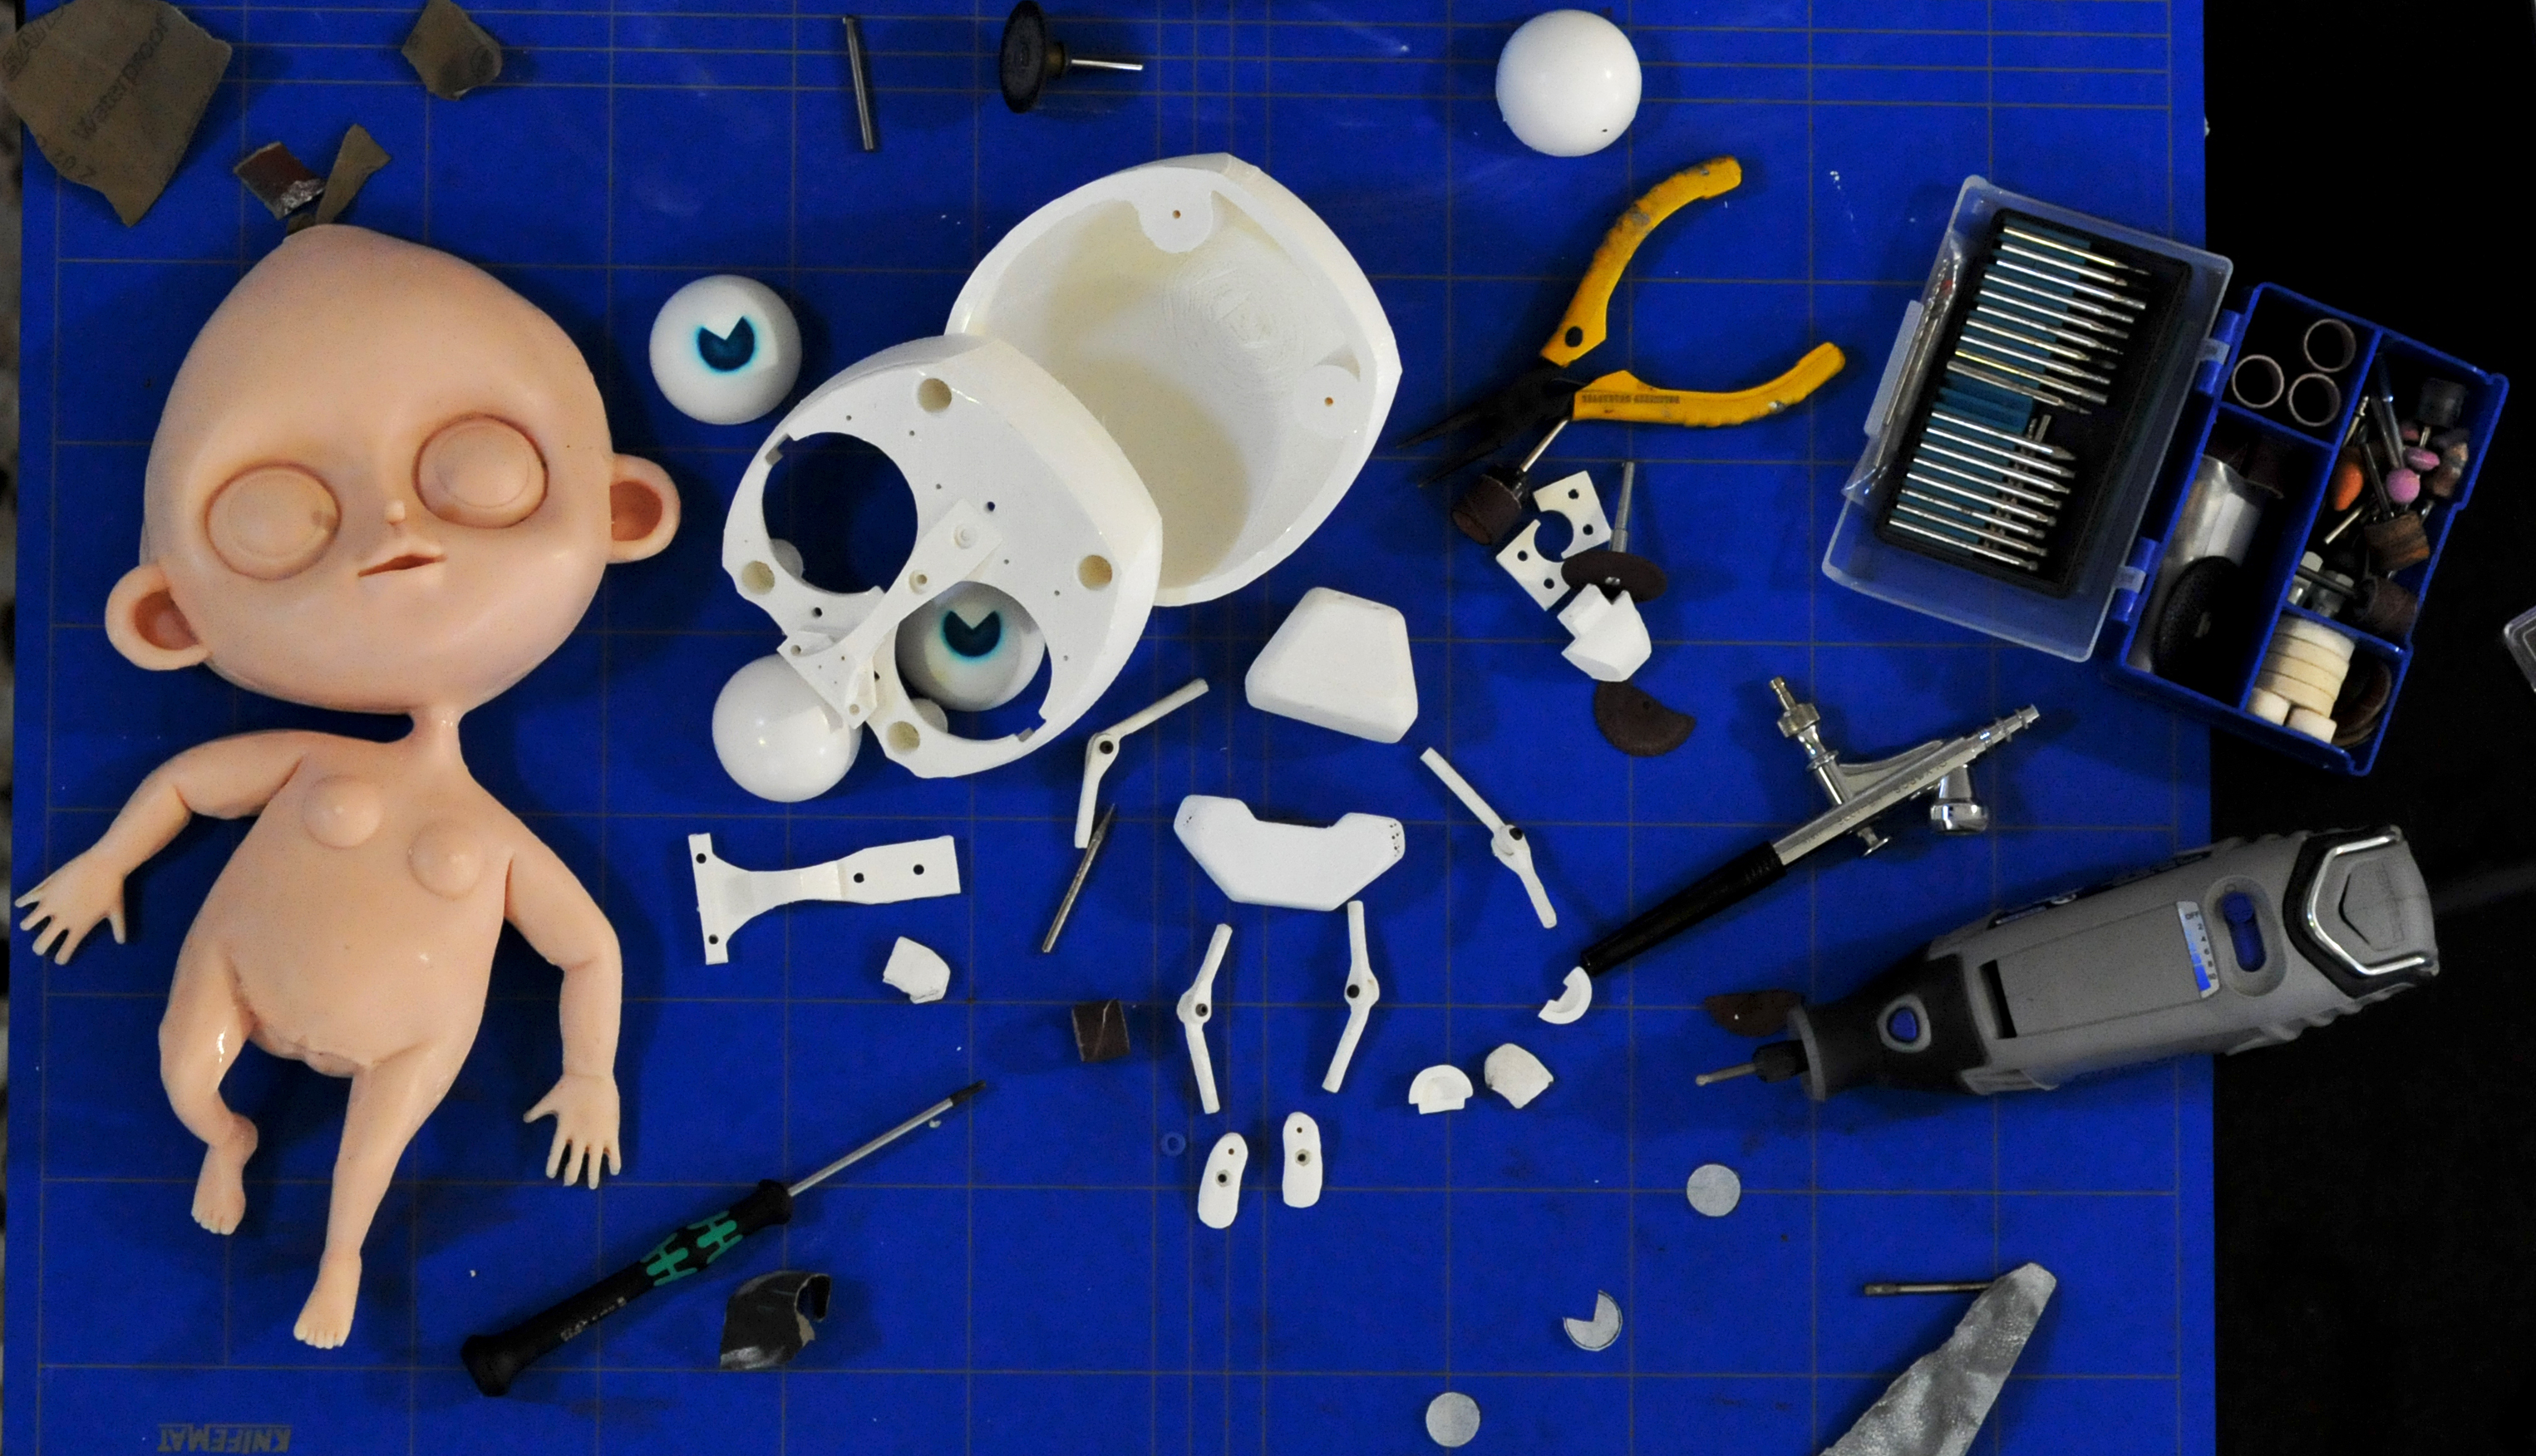
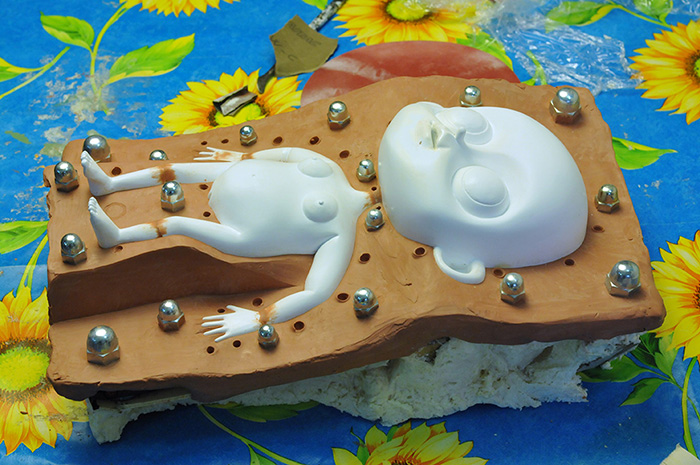
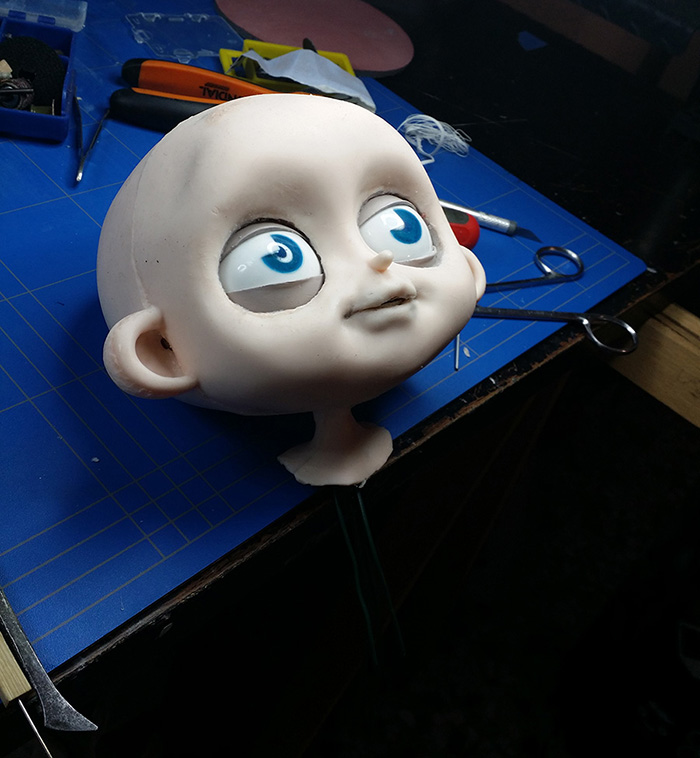
Hand sculpting model:
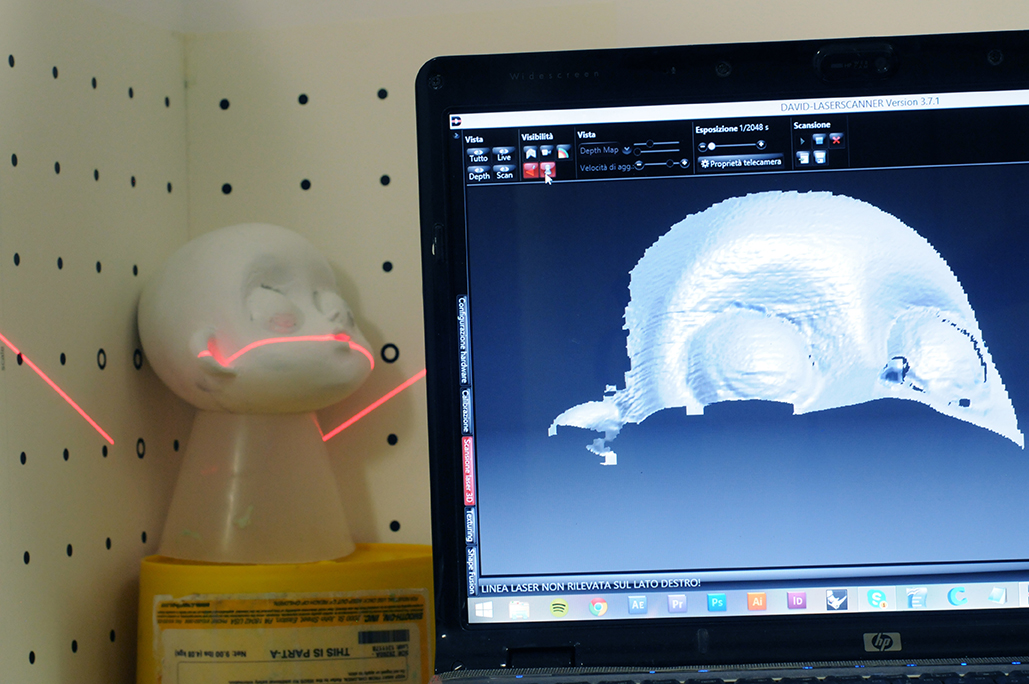
When it came to a choice of materials I decided in favour of terracotta as opposed to the classic mould clay. Using terracotta allowed me to prime and paint the exterior of each piece and the end result was a surface finish palpably much more similar to skin. A quality finish can also be achieved with the use of plasticine but painting it is a problem whereas painting the terracotta white greatly facilitated me when it came to doing a 3D scansion of the dolls and doll parts.
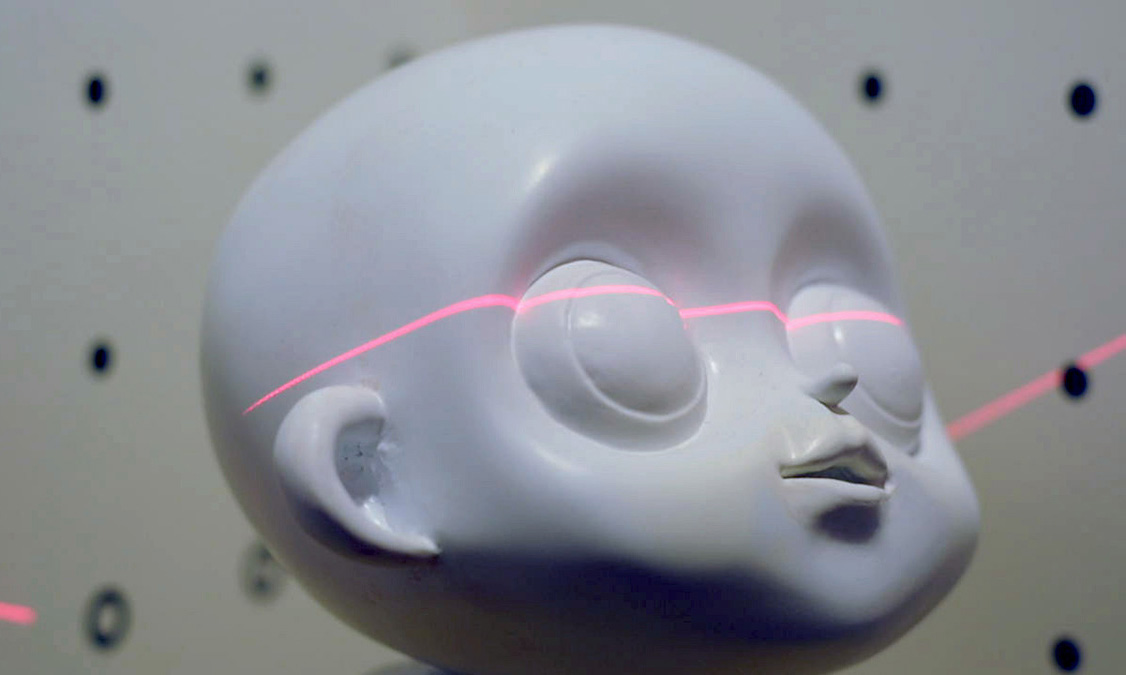
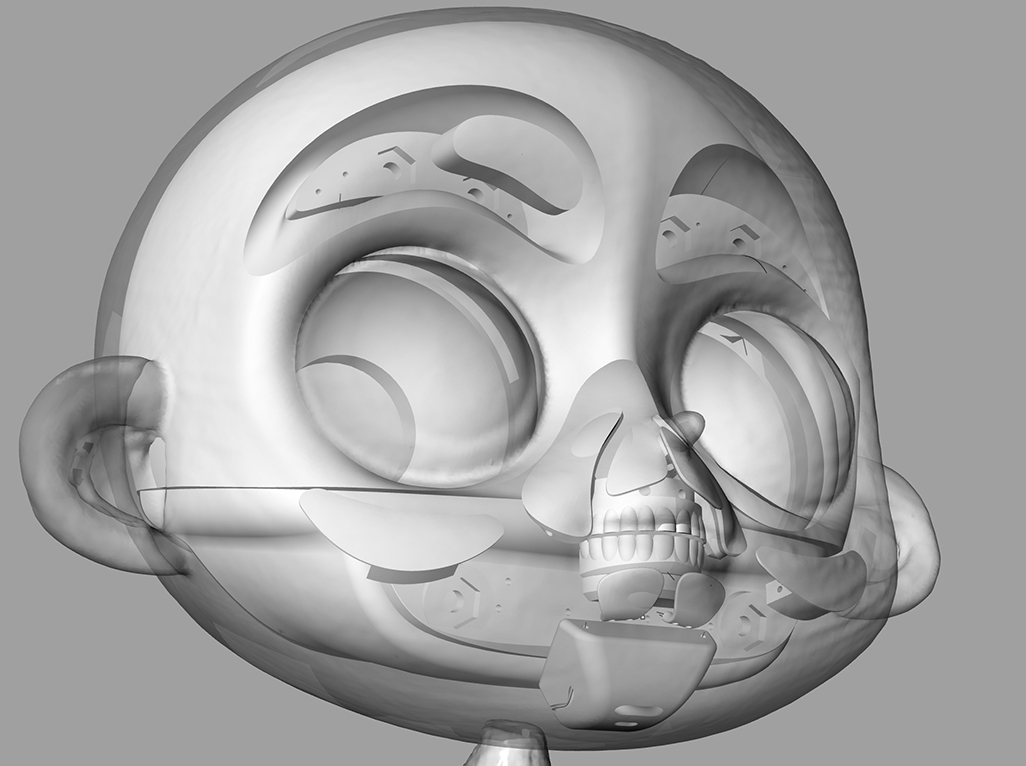
3D model acquiring:
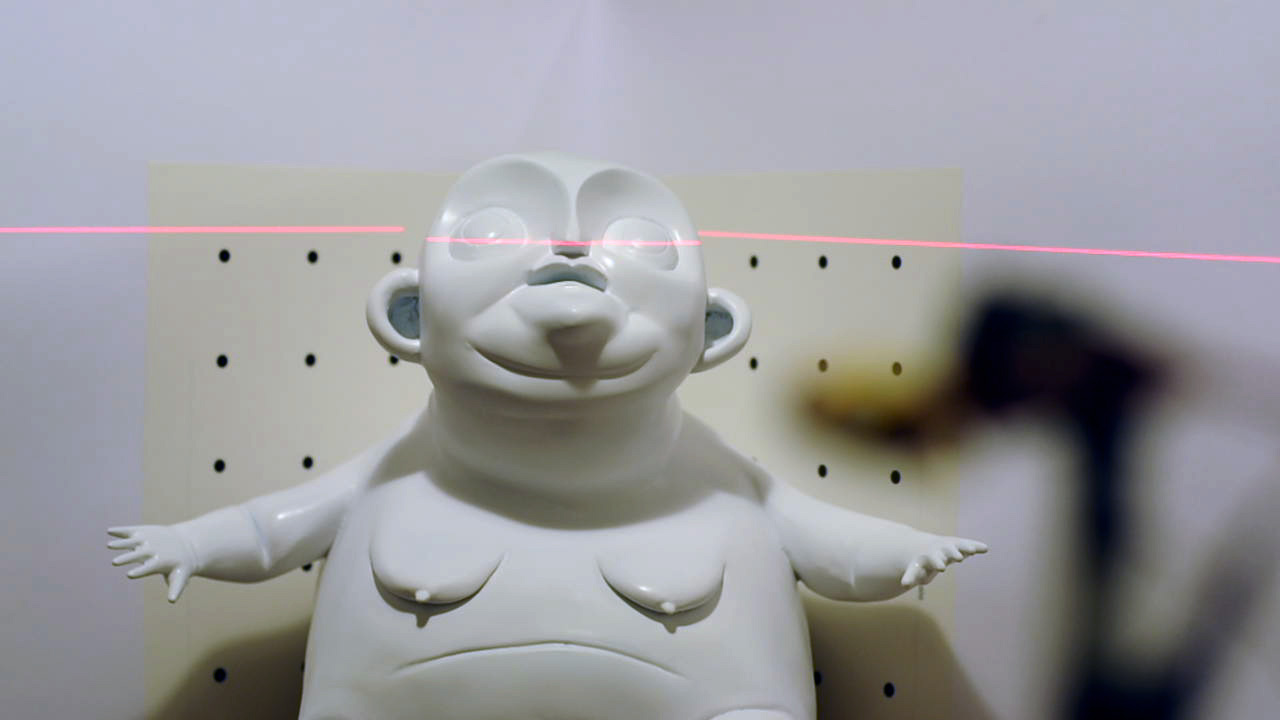
I used a DIY laser scanner to assemble piece by piece a polygonal mesh of each model doll. The profiles so acquired then served me as a guideline for the construction to measure of the mechanical skeletons to be fitted into each doll structure. As regards the actual scanning process I opted for linear laser because it allows for much greater detail during the acquisition.
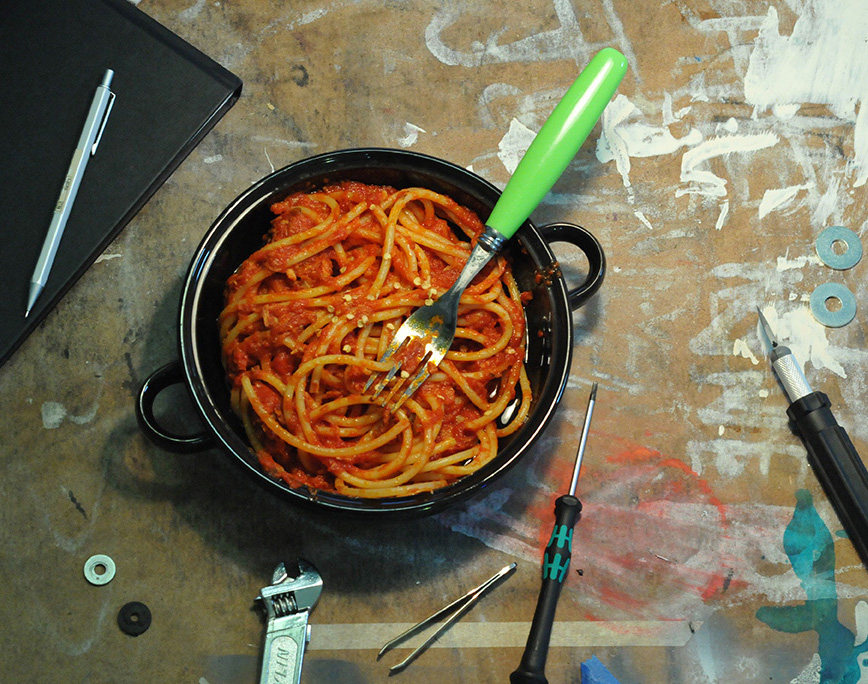
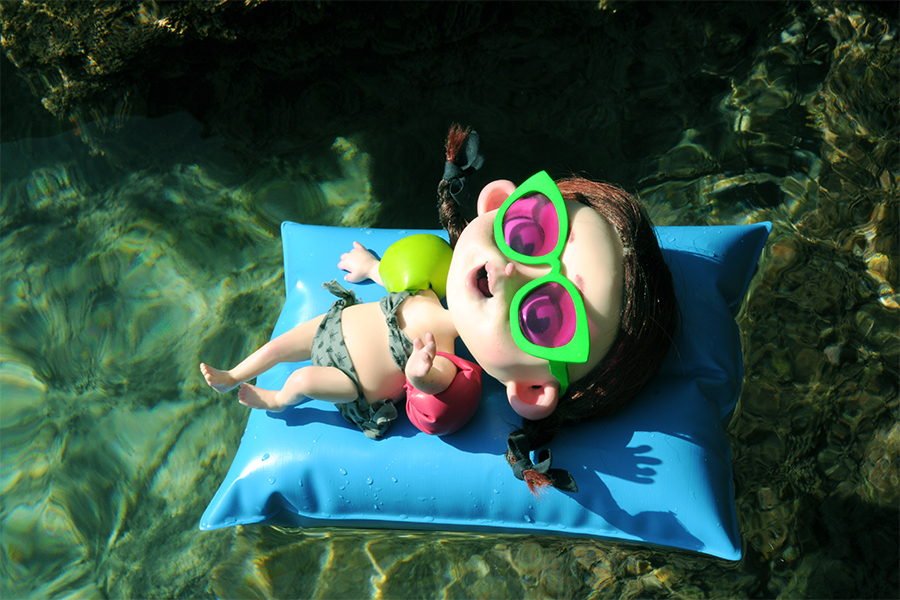
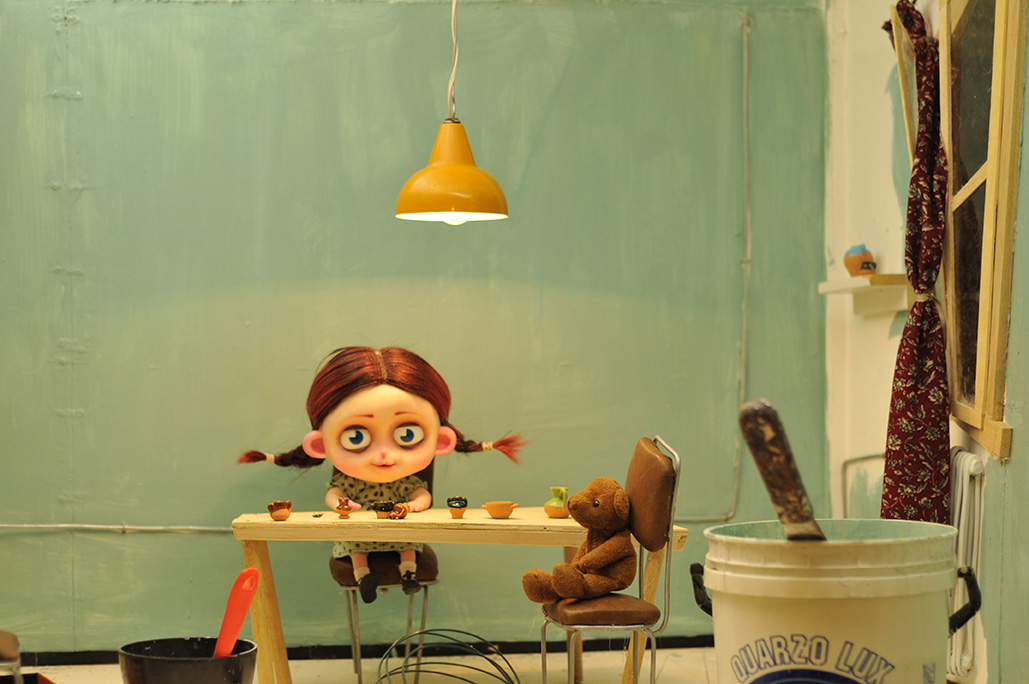
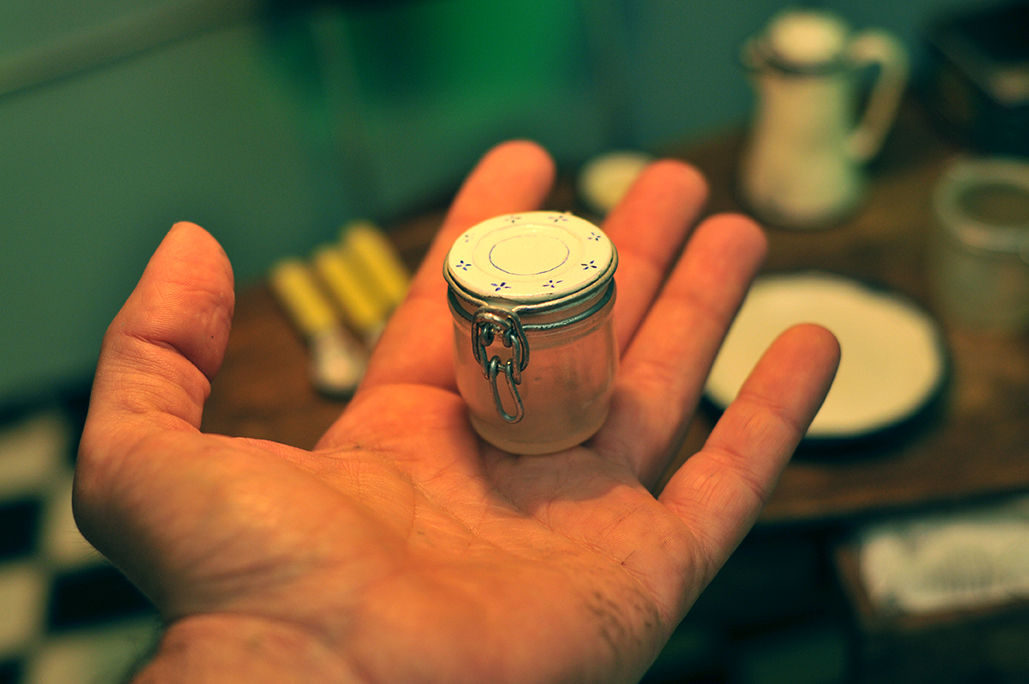
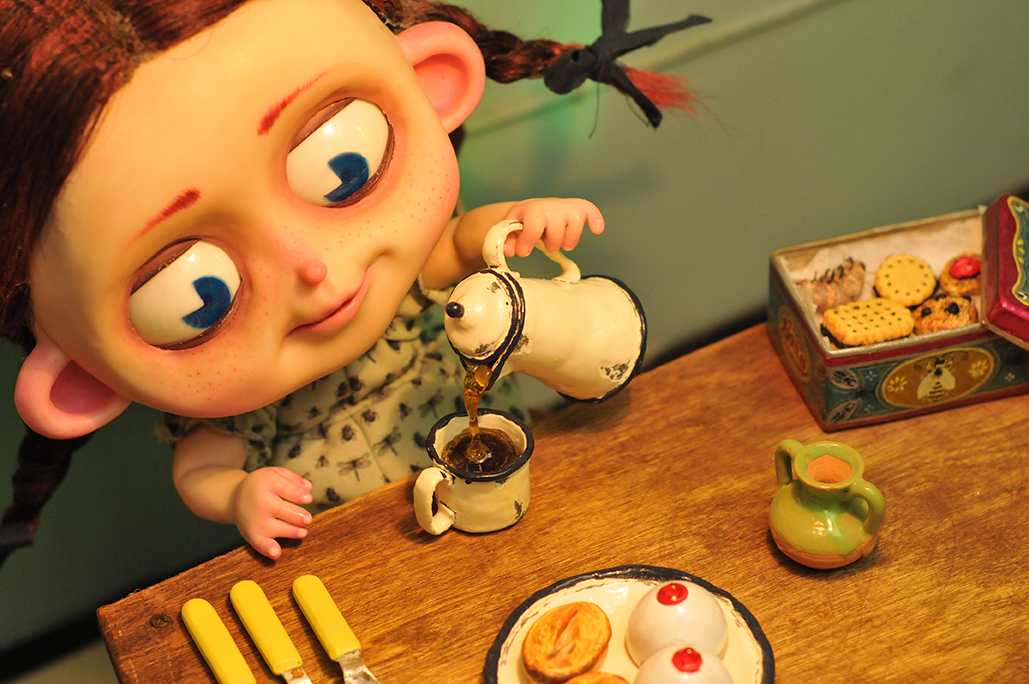
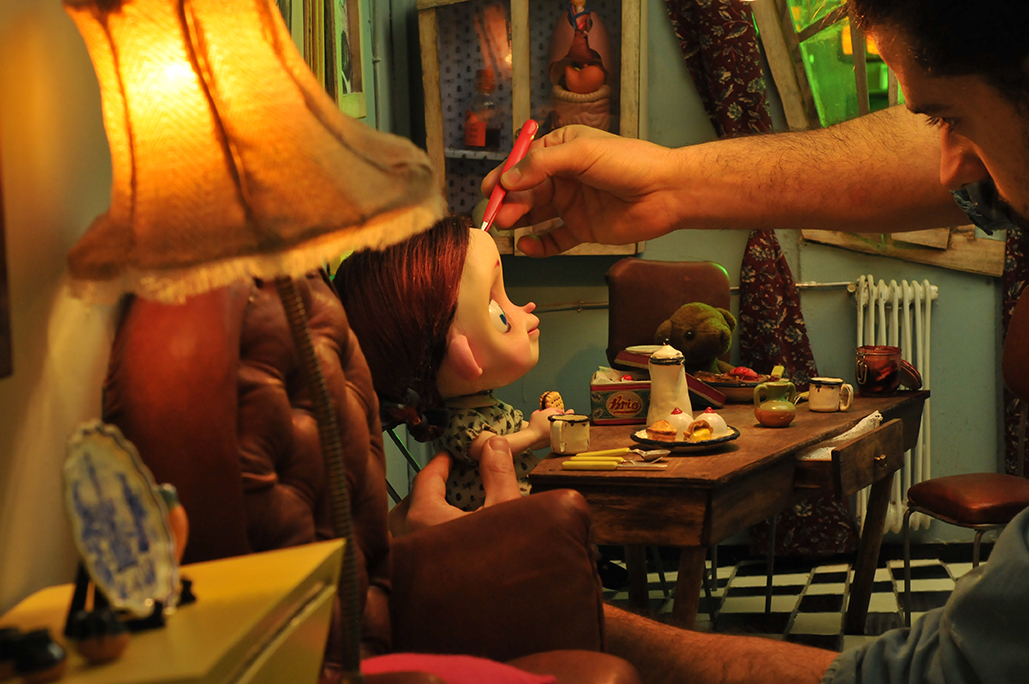
LUNCH BREAK!
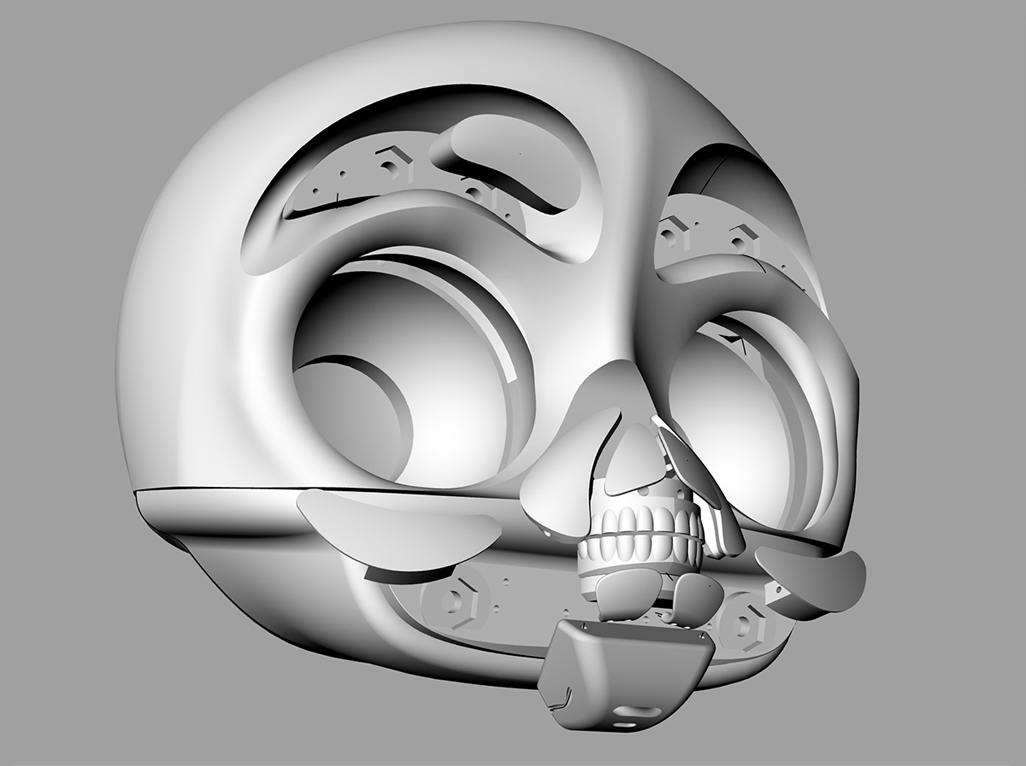
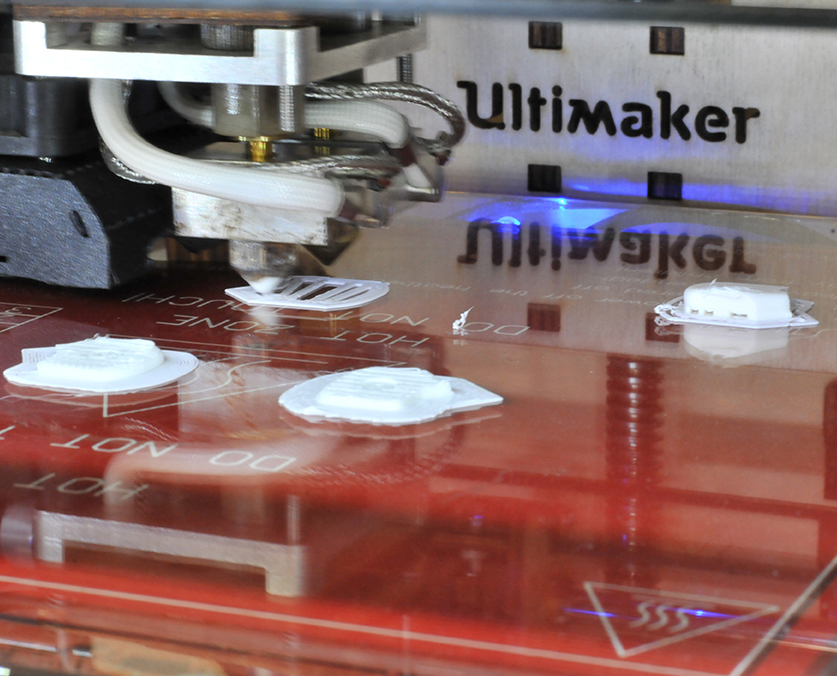
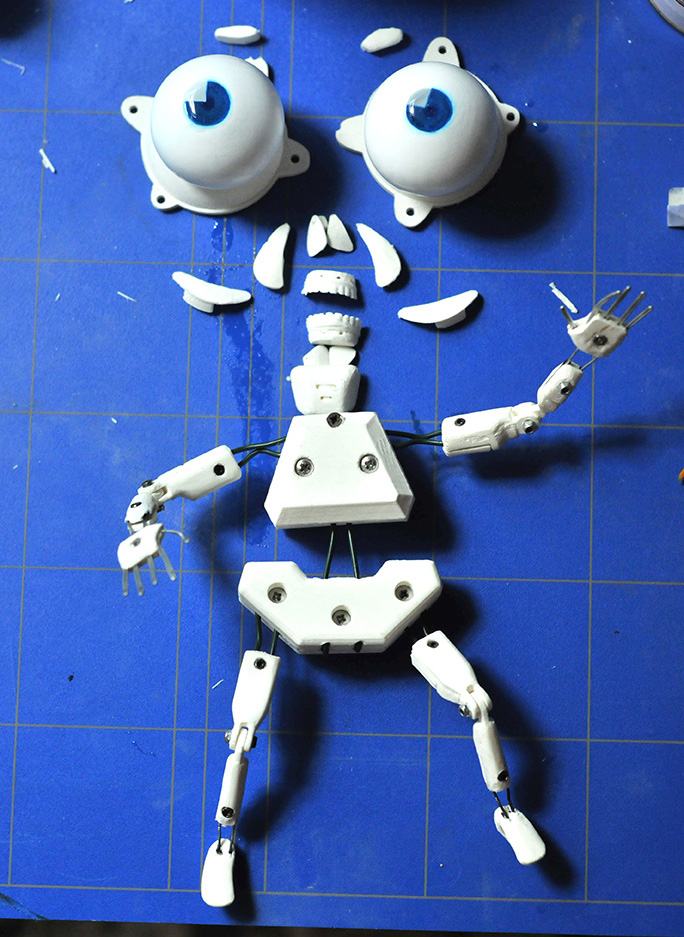
3D printing model:
I used a DIY 3D printer kit to produce the prototype of a ‘mechanical skeleton’ for the ‘dolls’. The technology incorporated in the printer is that most commonly available for home use and is referred to as FFF or ‘Fused Filament Fabrication’. The quality of the pieces I can produce with this printer is fairly good as was the prototype I produced for the ‘mechanical skeleton’. To-date (and after various modifications and the elimination of imperfections) I have been able to produce finished pieces at a reasonable rate with a great resolution.
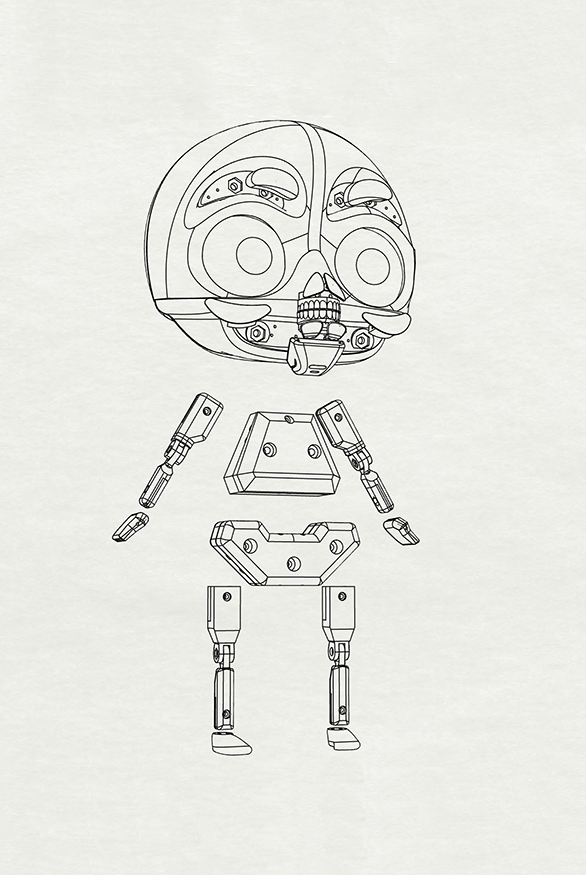
Quality to this standard was not strictly necessary seeing as I was aware that I’d have to retouch all pieces by hand and use a small soldering iron to make modifications while fastening bolts and other mechanical parts.
Designing a valid and functional manufacturing system was my priority. I also wanted a final product which could be put together or taken apart at ease, and which could be modified without risking to the entire structure.

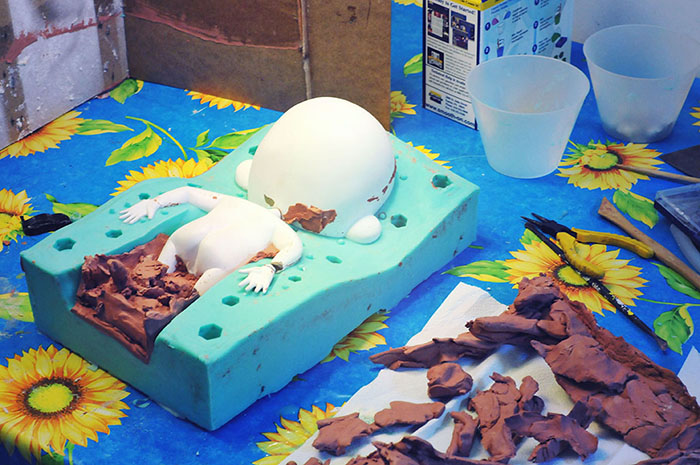
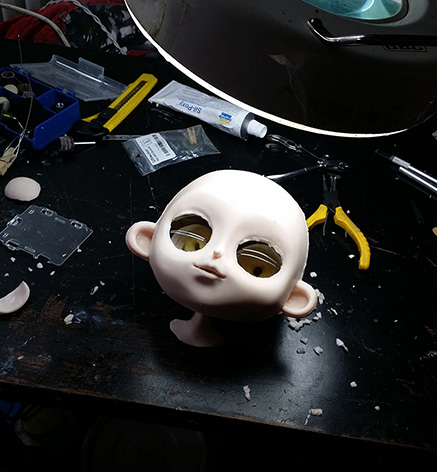
Making a skin Mould:
I finally reached the point where I was going to have to supply my doll characters with a ‘skin’. I decided to use RTV (Room Temperature Vulcanization) silicone rubber. The quality of the ‘skin’ surface I managed to achieve for the ‘dolls’ is truly tangible!
The production procedure I ended up using may not be the best for obtaining a quality mould but I preferred my own which allows me to choose and change ‘skin’ thickness. Being able to manipulate ‘skin’ thickness at will is essential when it comes to representing changing facial expressions naturally. I’ve had good results to-date but there is still room for improvement.

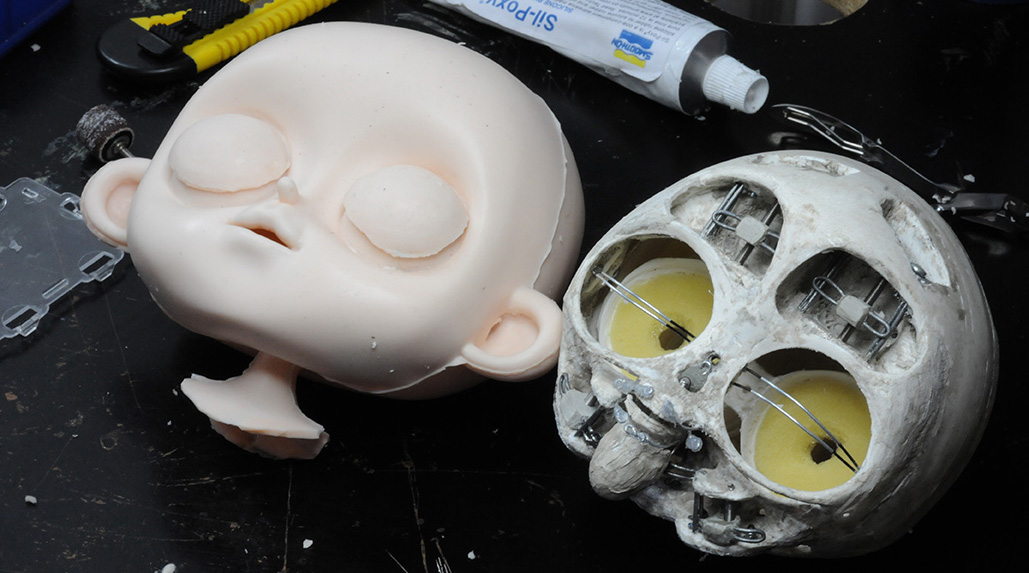
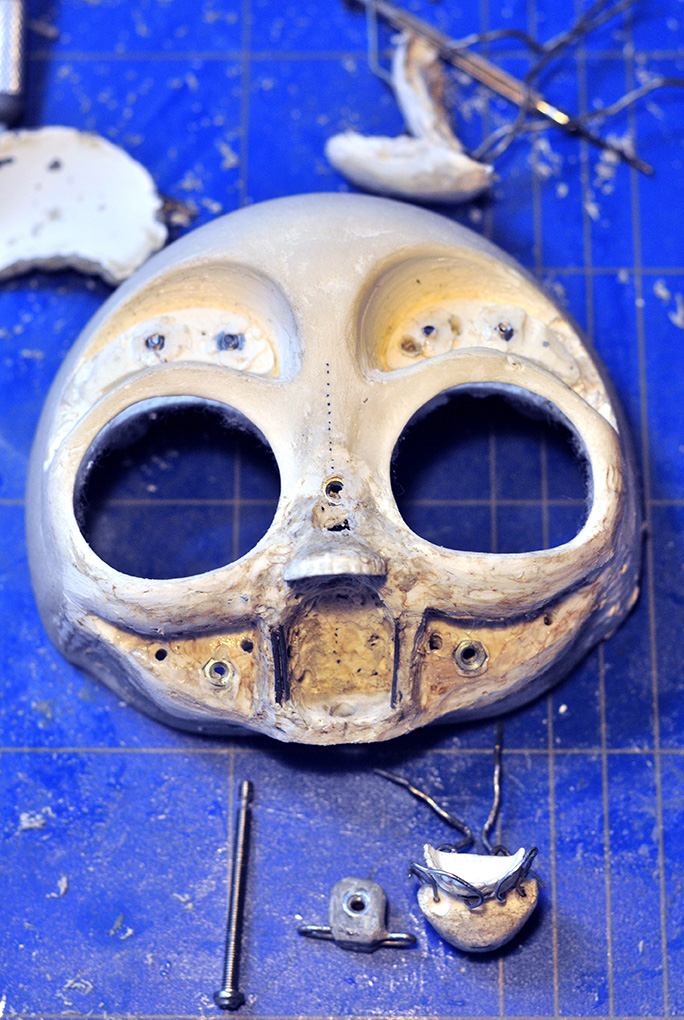
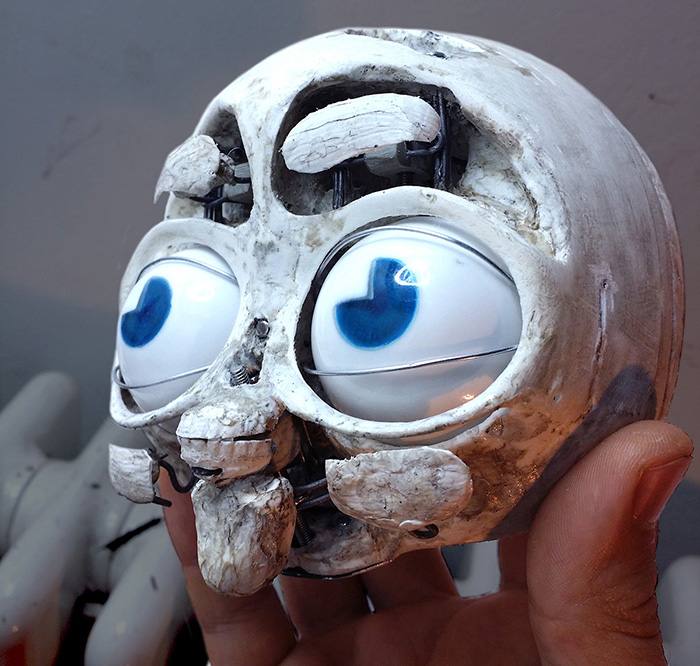
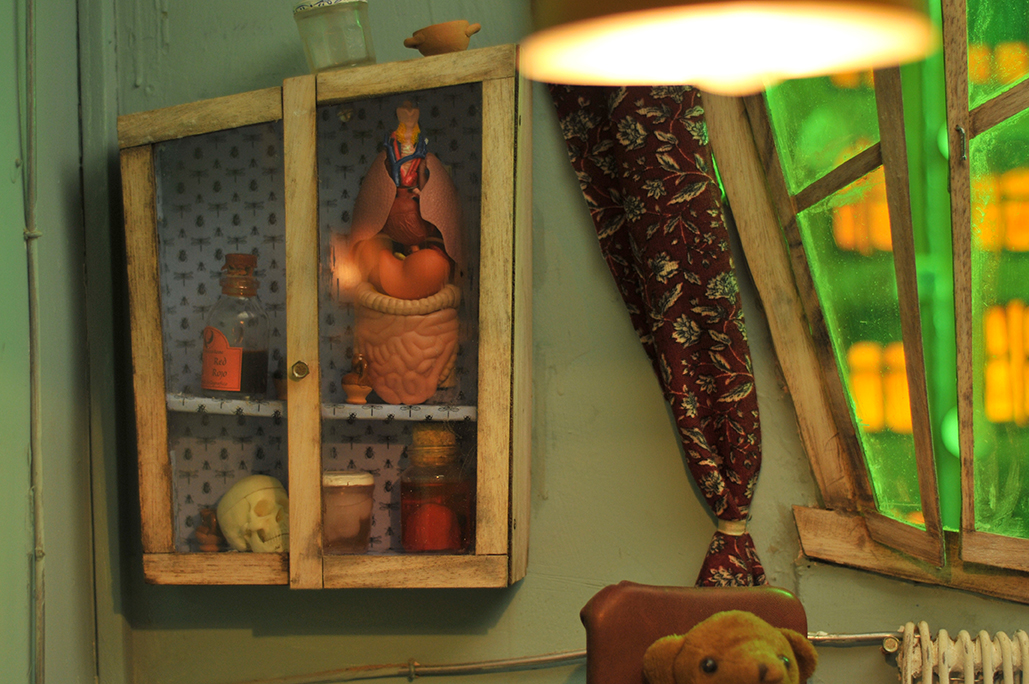
SKIN & SKULL
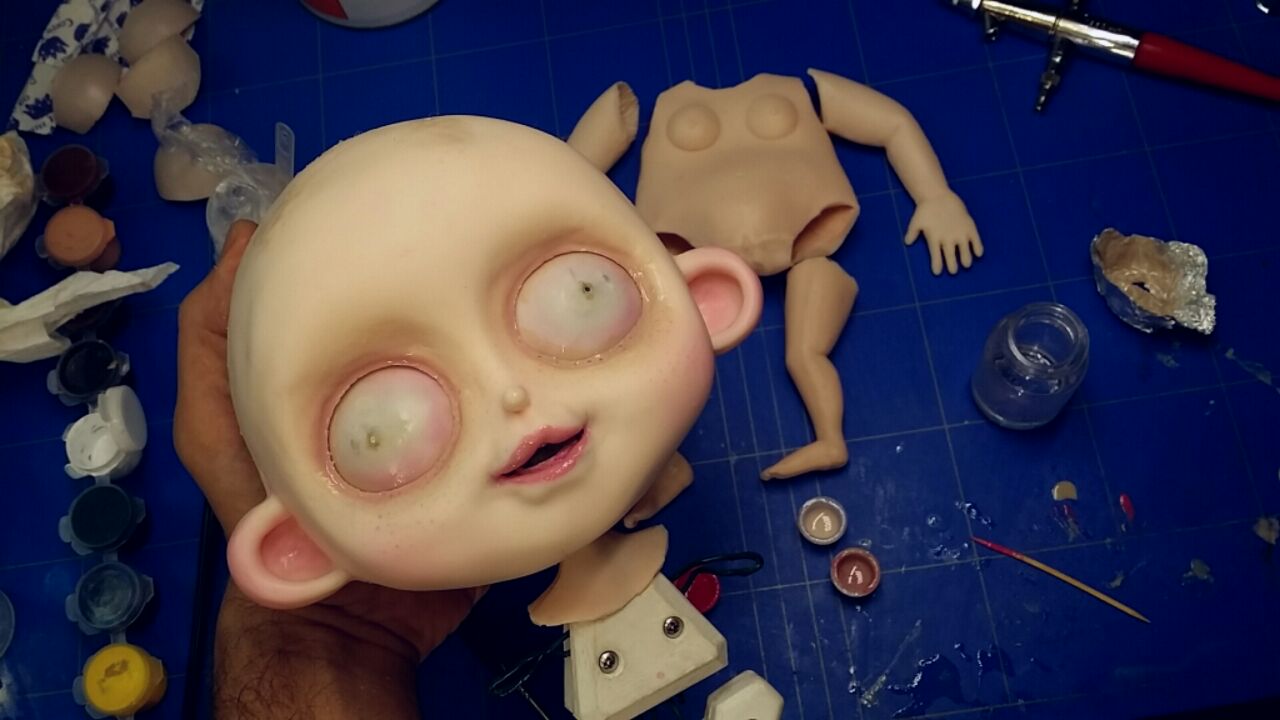
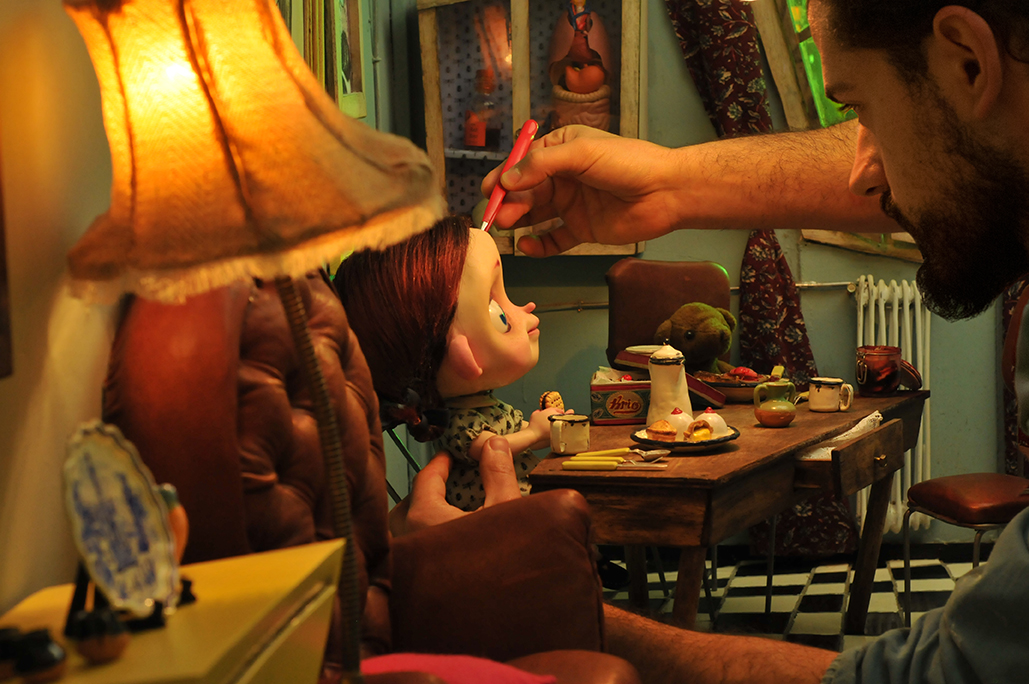
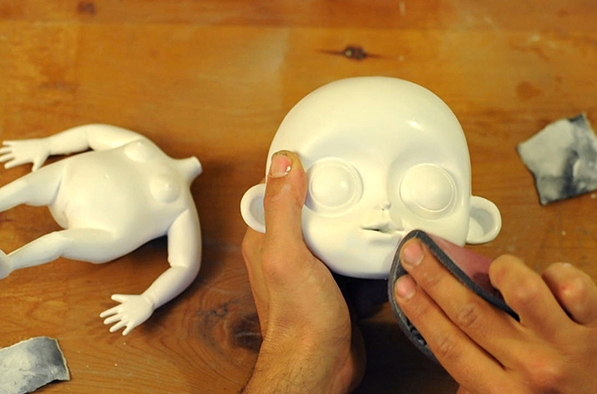
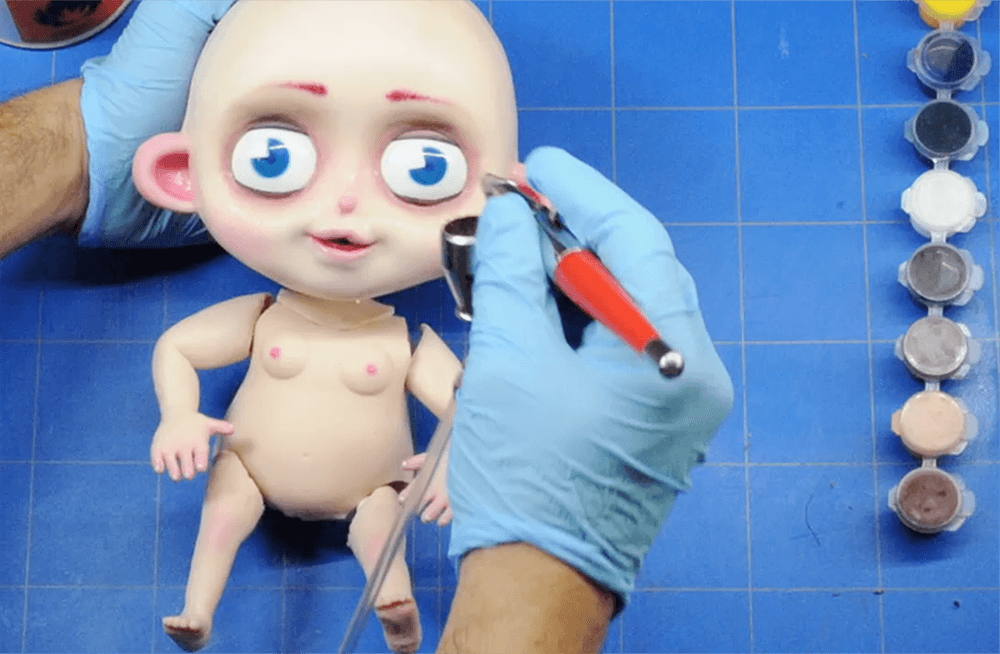
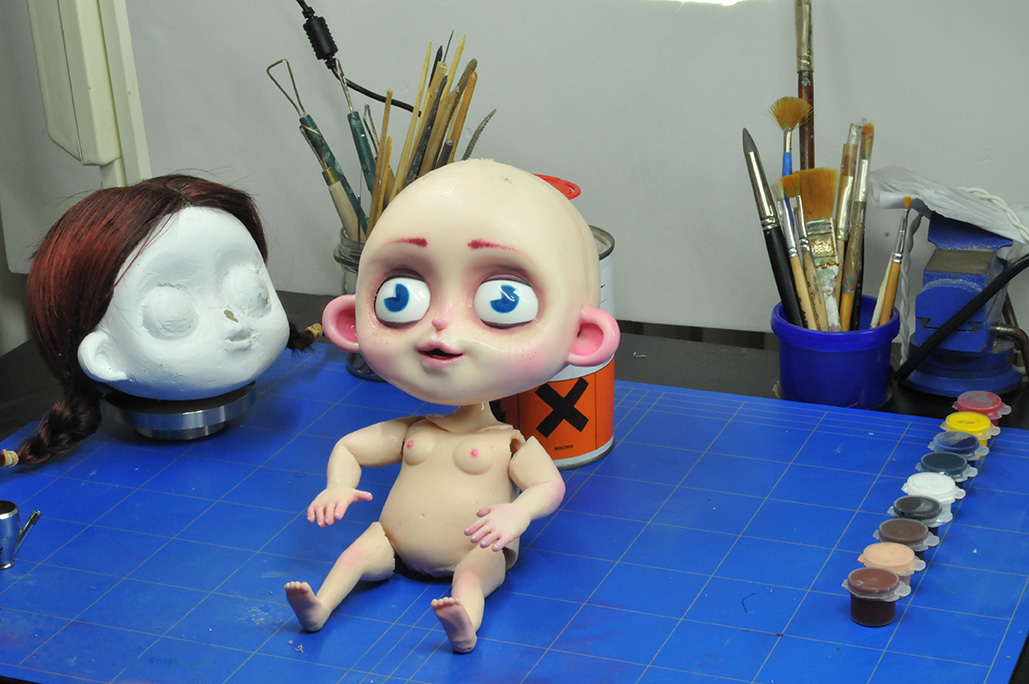
A bit of make up:
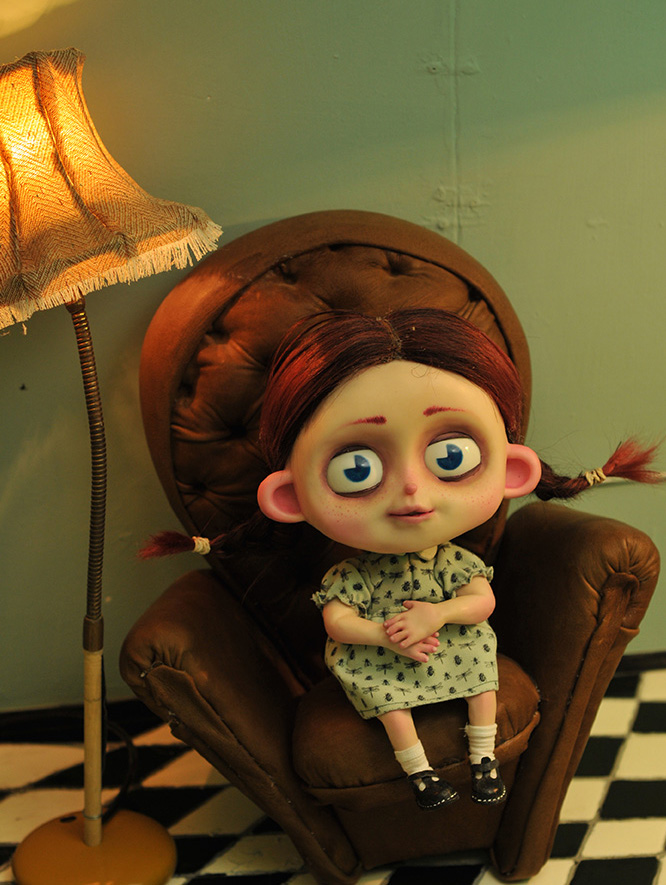
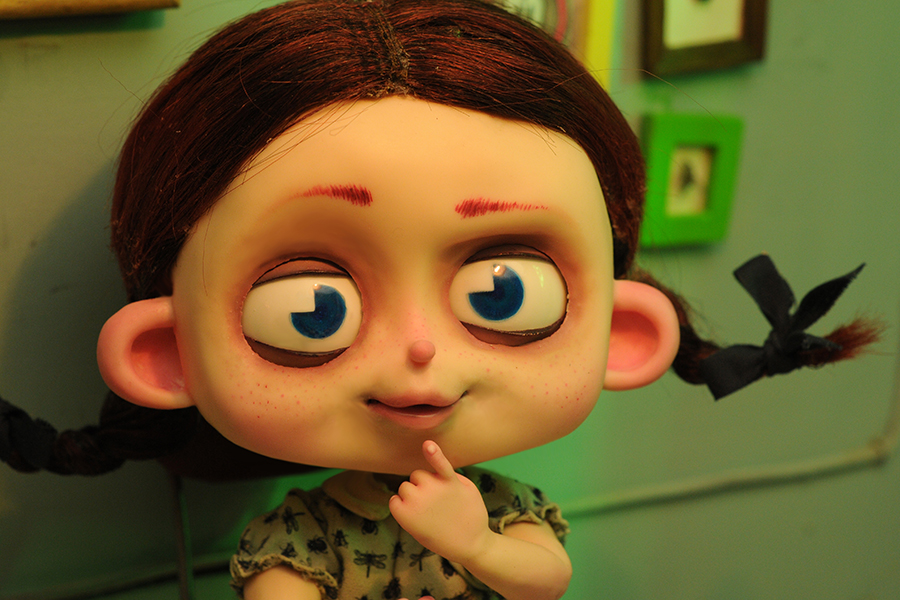
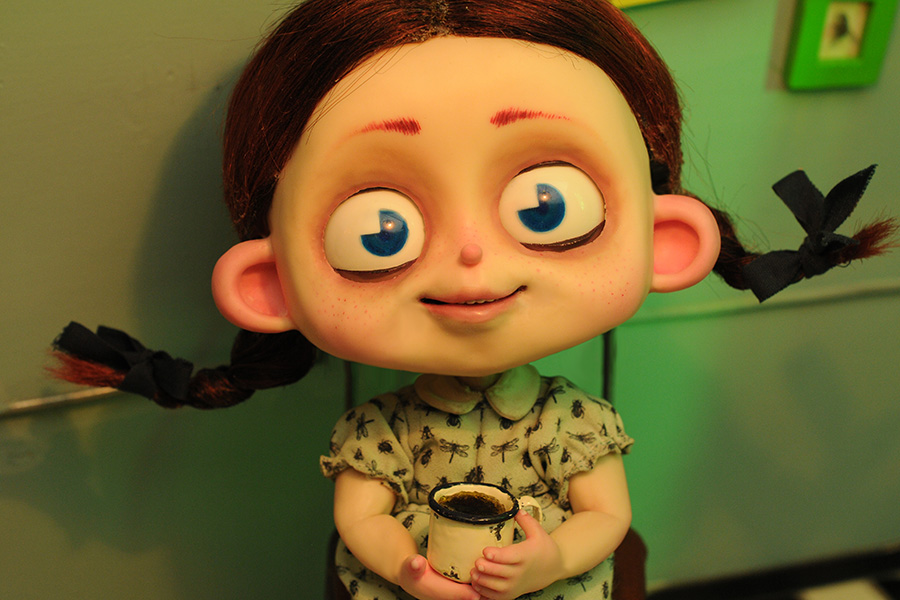
Once matching up of ‘skin’ and ‘skeleton’ and their assembly had been completed the time had come to give a touch of colour to the pallid features of our little character.
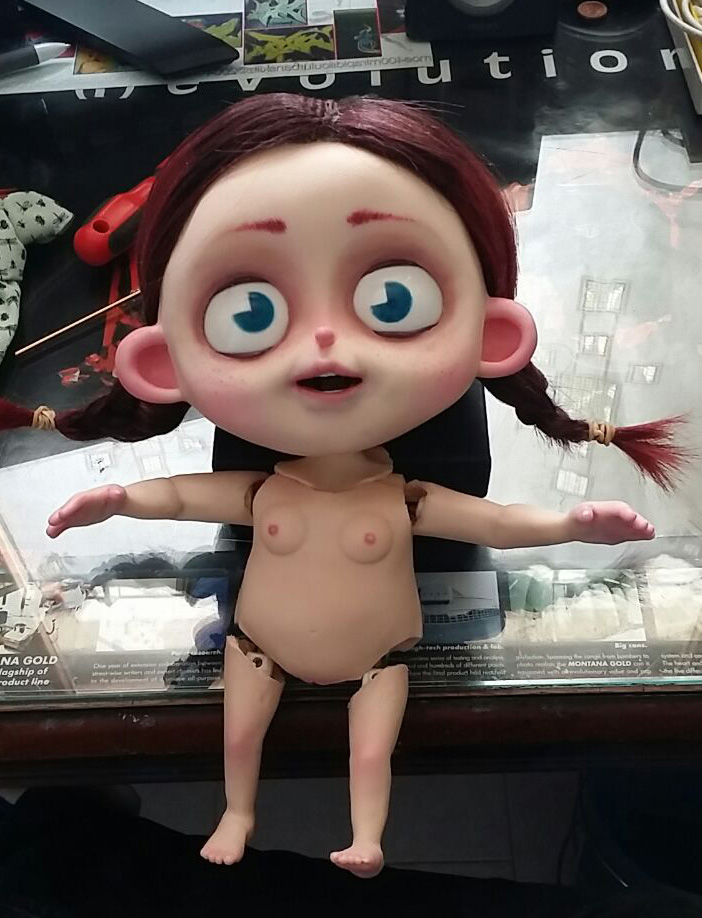
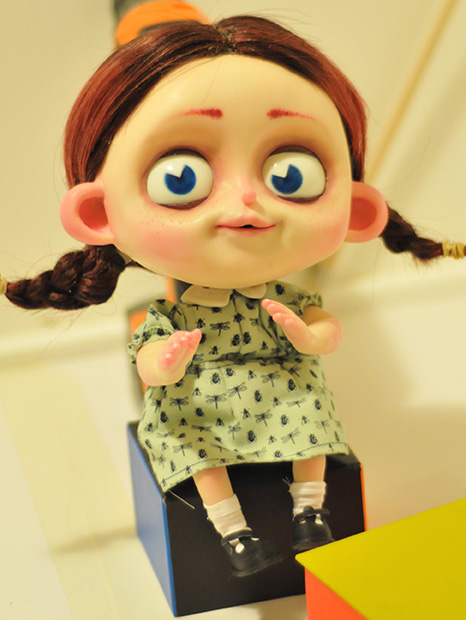
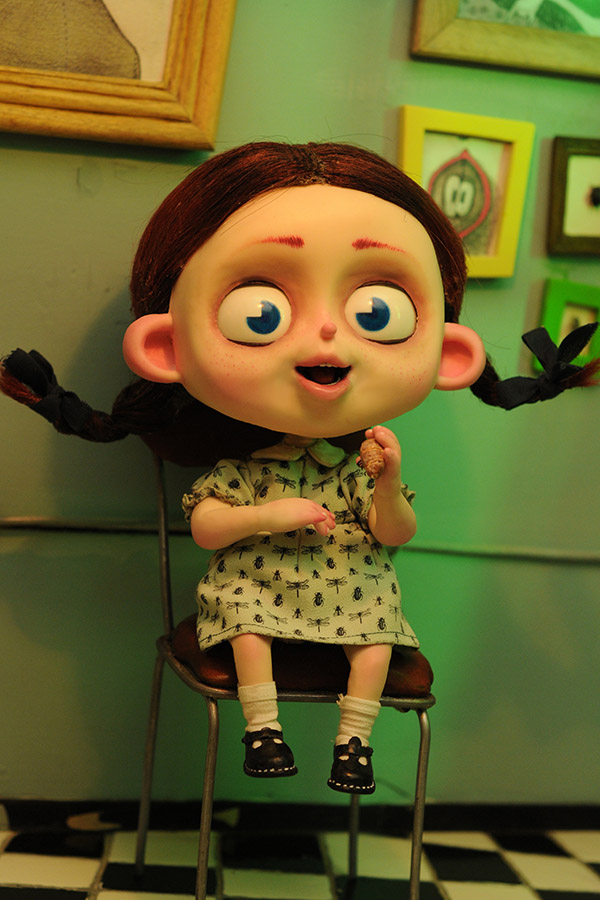
A touch of fashion:
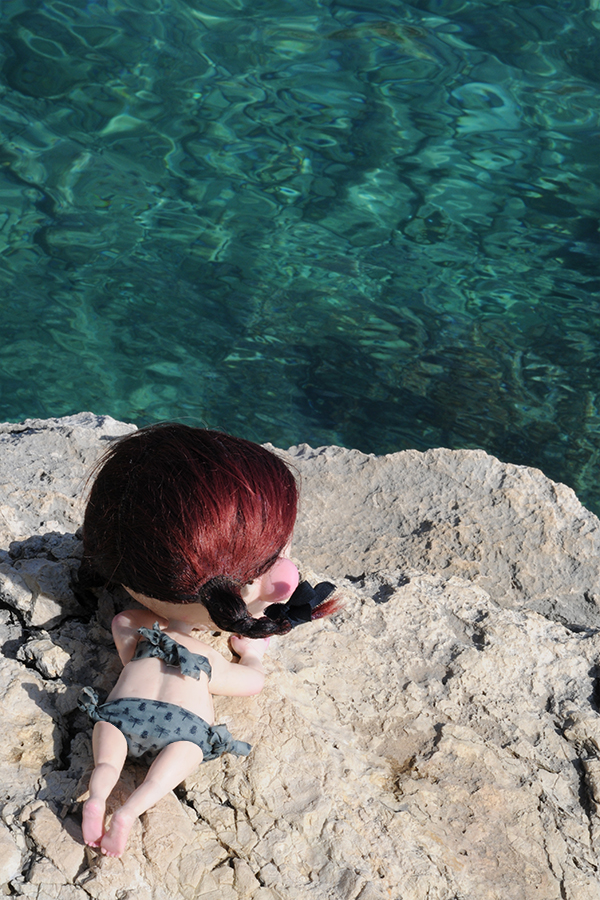
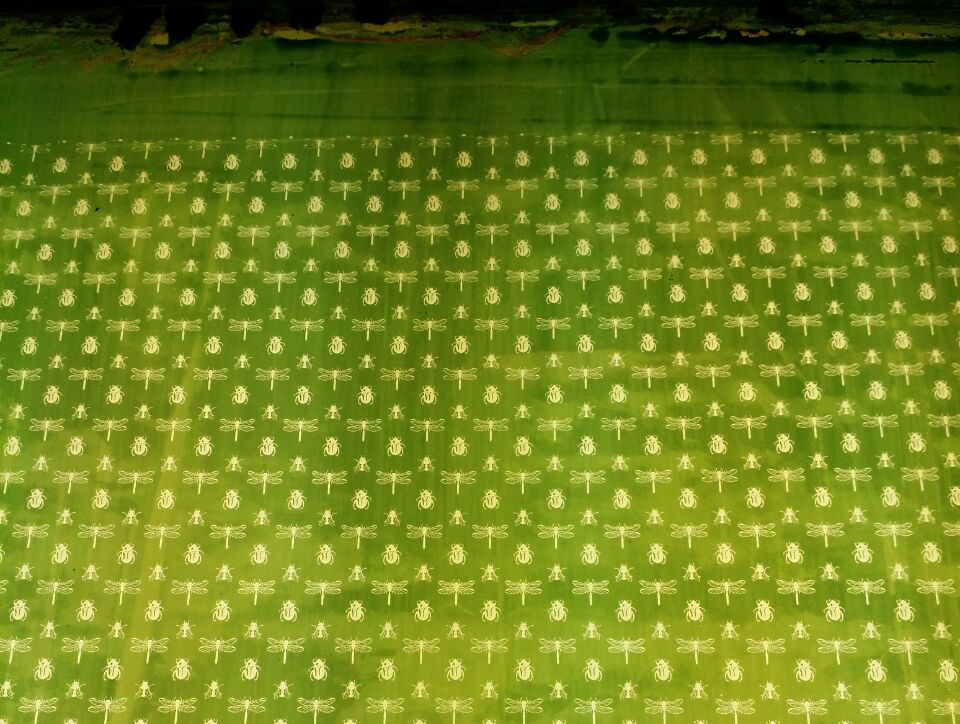
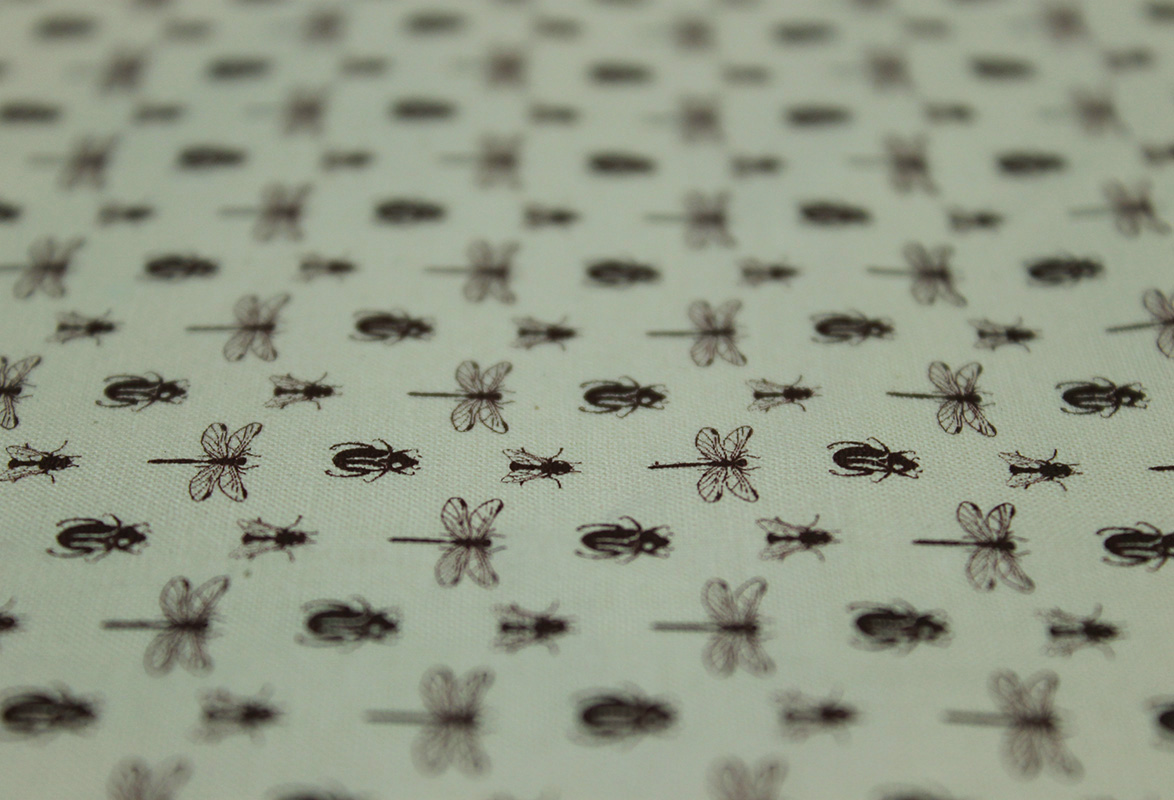
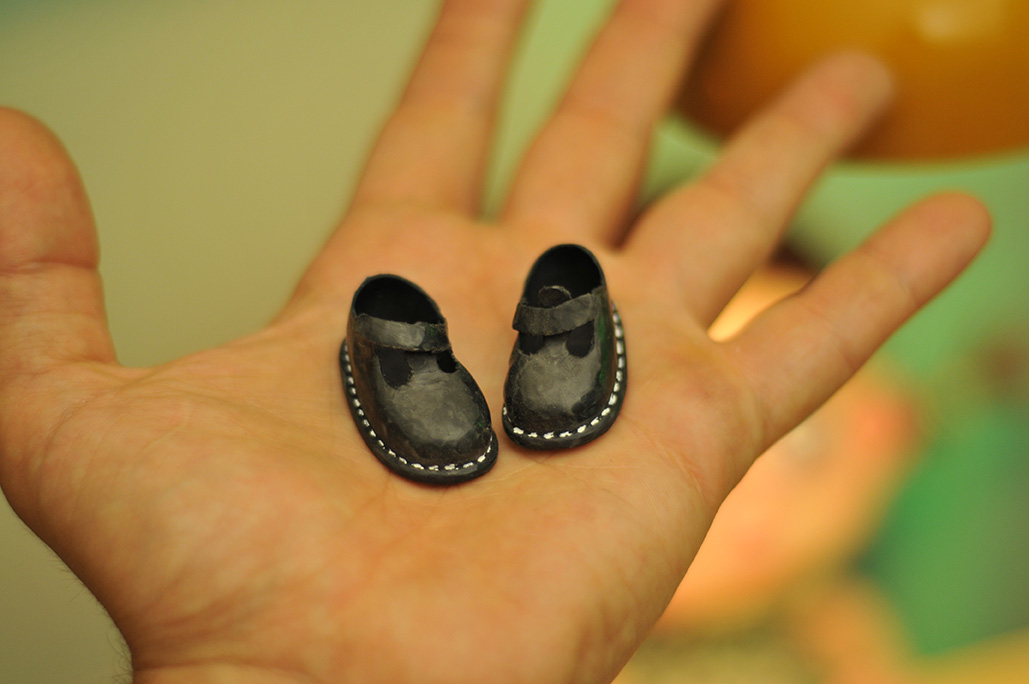
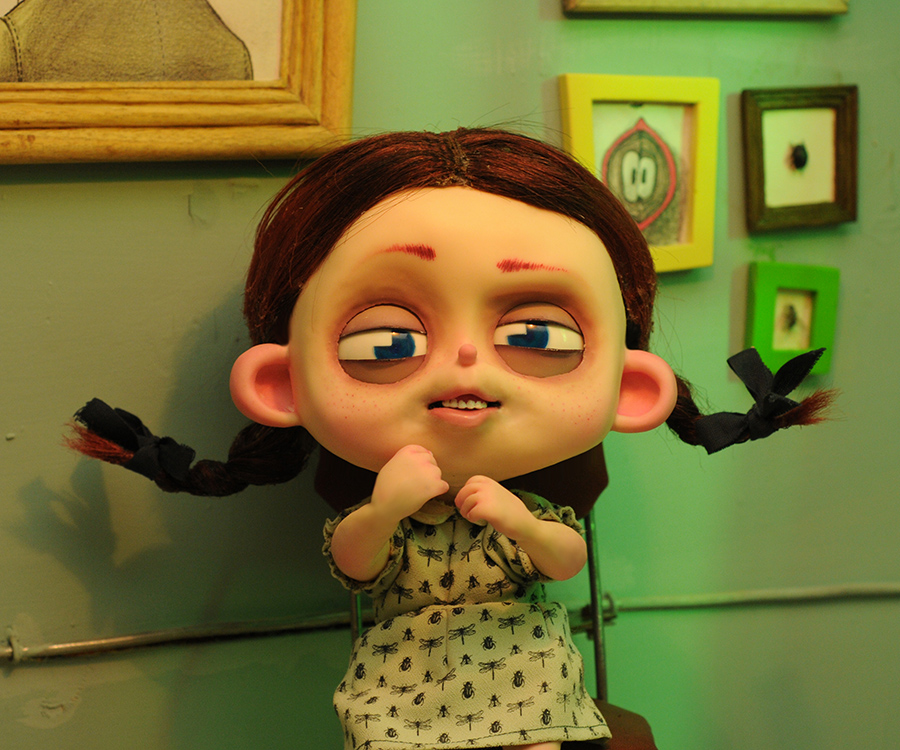
Checking my little ‘doll’ I found all the movements to be smooth working and the facial expressions reasonably life like too. Now it was time to get her dressed up and ready to go. I chose to use an Italian fabric printed with my own ‘insects pattern’. All this procedure might sound easy but in practice it wasn’t at all. For example, the pattern includes a lot of minuscule graphic details on the wings and legs of the insects. My choice of fabric wasn’t easy to work with either as the material is crepe. A sturdy silk frame had to be made up to handle the fabric, and both squeegee hardness and dye fluidity had to be chosen with care. After all of these problems had been dealt with I designed the paper pattern and cut to shape the dress and then finally sewed everything up to complete the manufacture… Yes I know sewing! So now the ‘doll’ was done and dressed, what next? Oh yes, the shoes and socks!
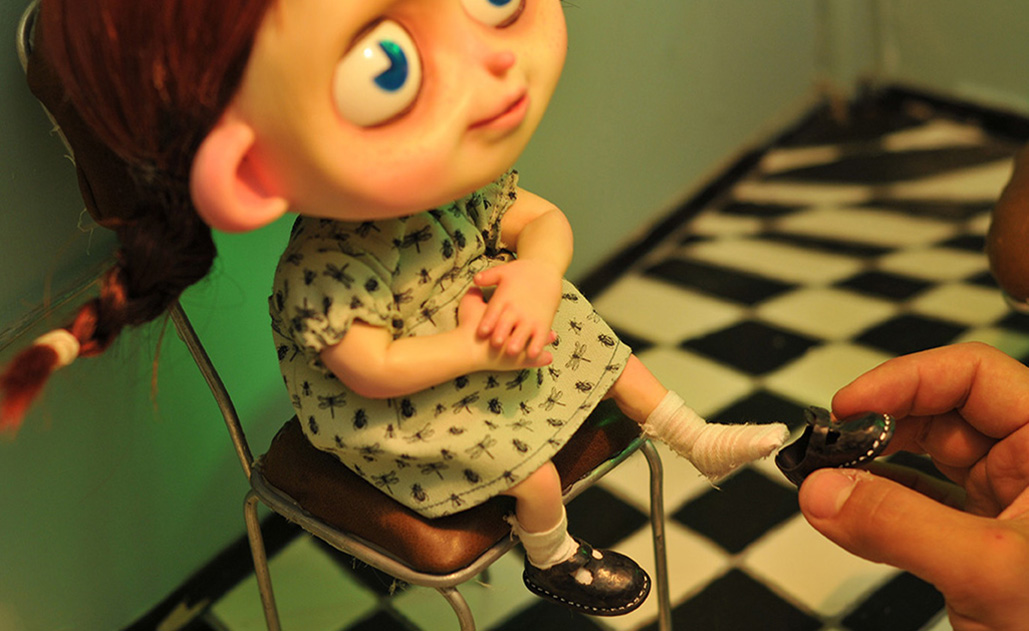

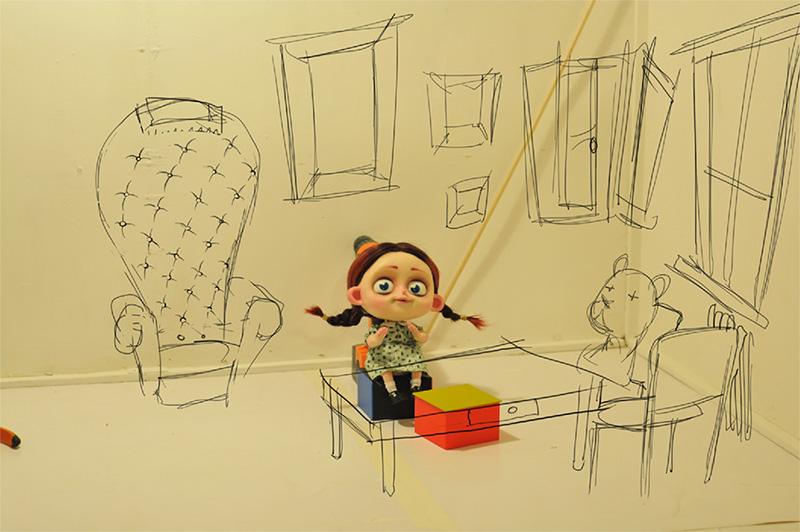
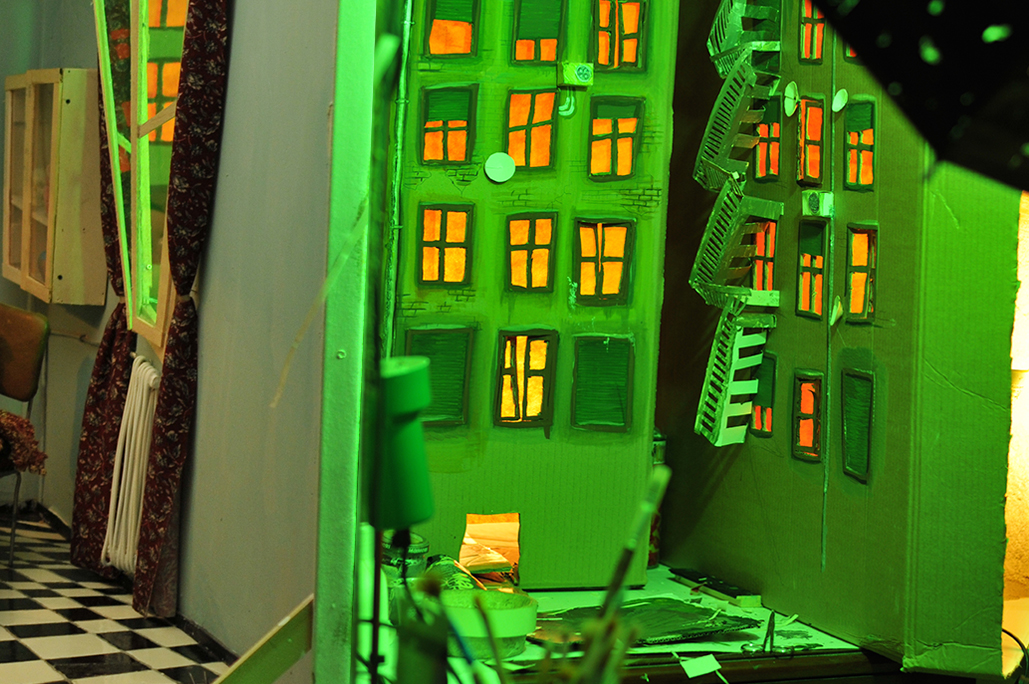
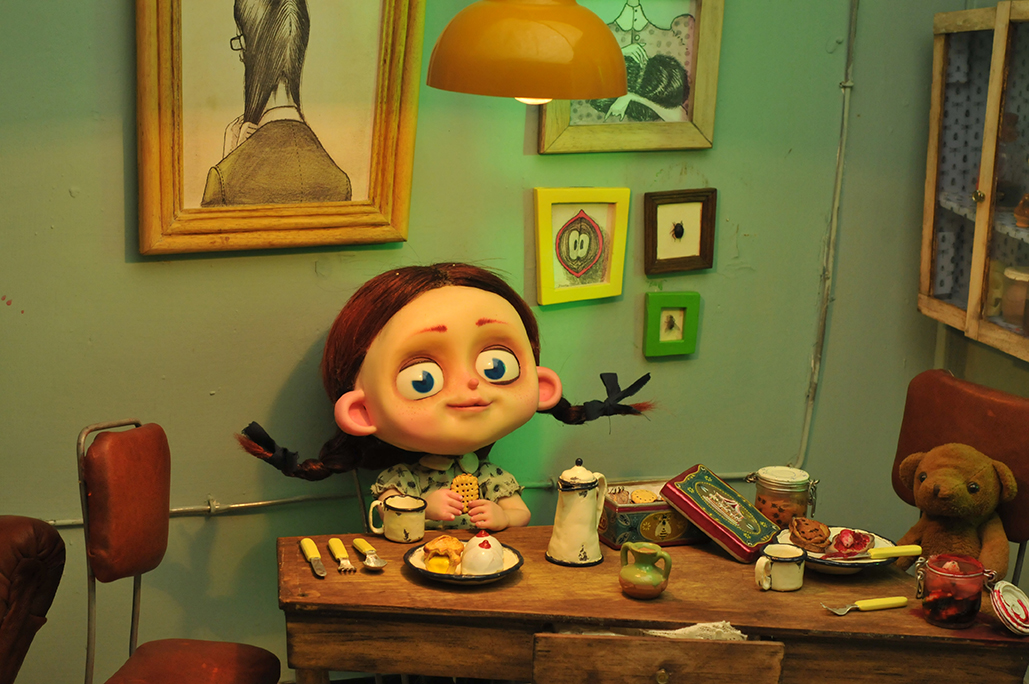
From scratch to the stage:
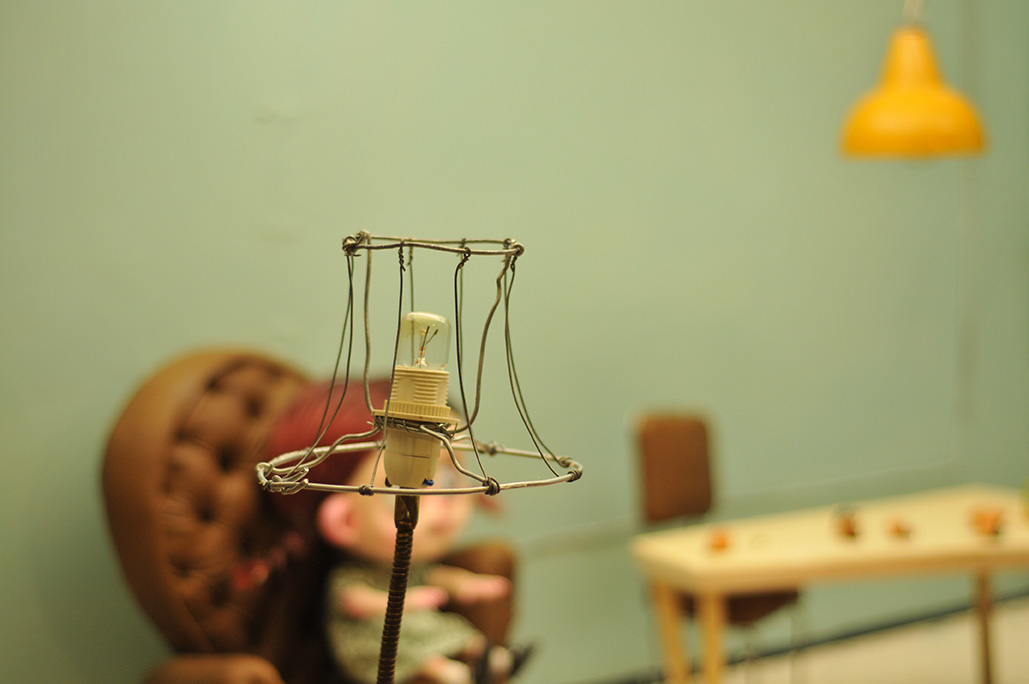
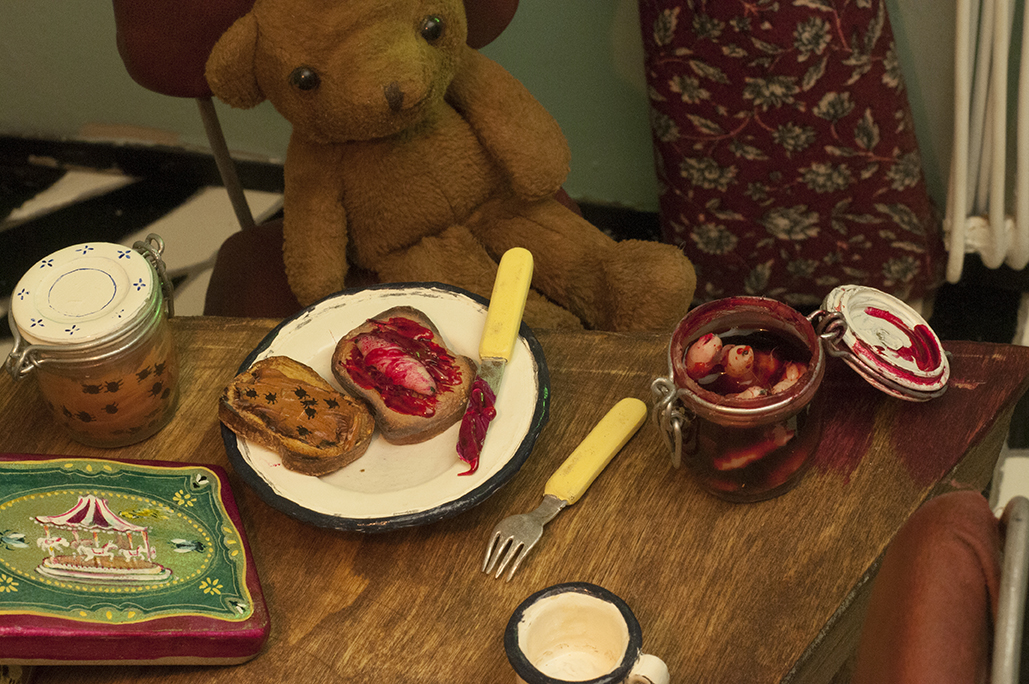
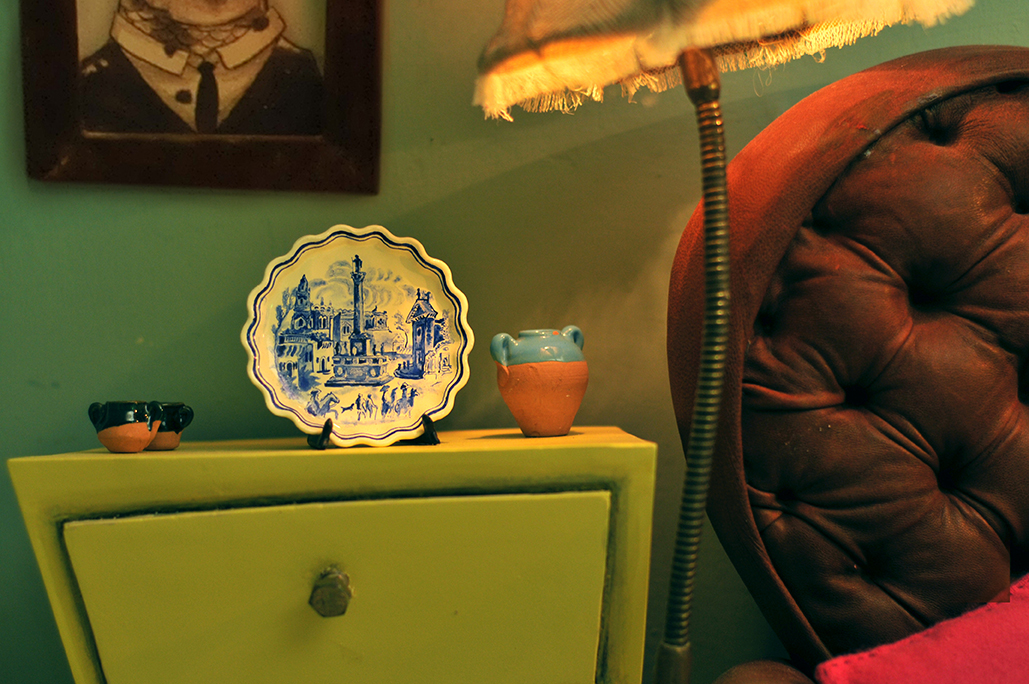
I had to begin to create ‘her world’. As building materials for her ‘stage’ I gathered up all the odds and ends I could lay my hands on. Leftovers of all sorts, rough pieces of wood, cuts of leather, bits of Plexiglas, Styrfoam packing, etcetera, and as usual I let the materials themselves be my inspiration and give shape and form to my creativity. ‘Does my ‘doll’ have a big head and a small body? ”. Could sound a daft question but in fact all her world and all the furniture to go with it had to be made in proportion to her size and shape.
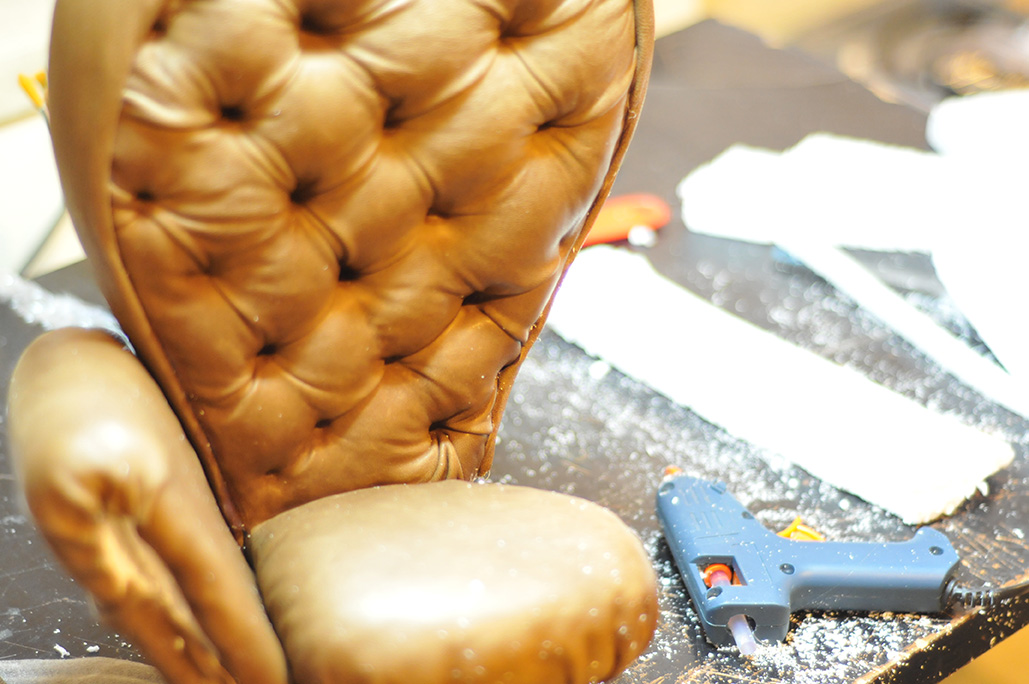
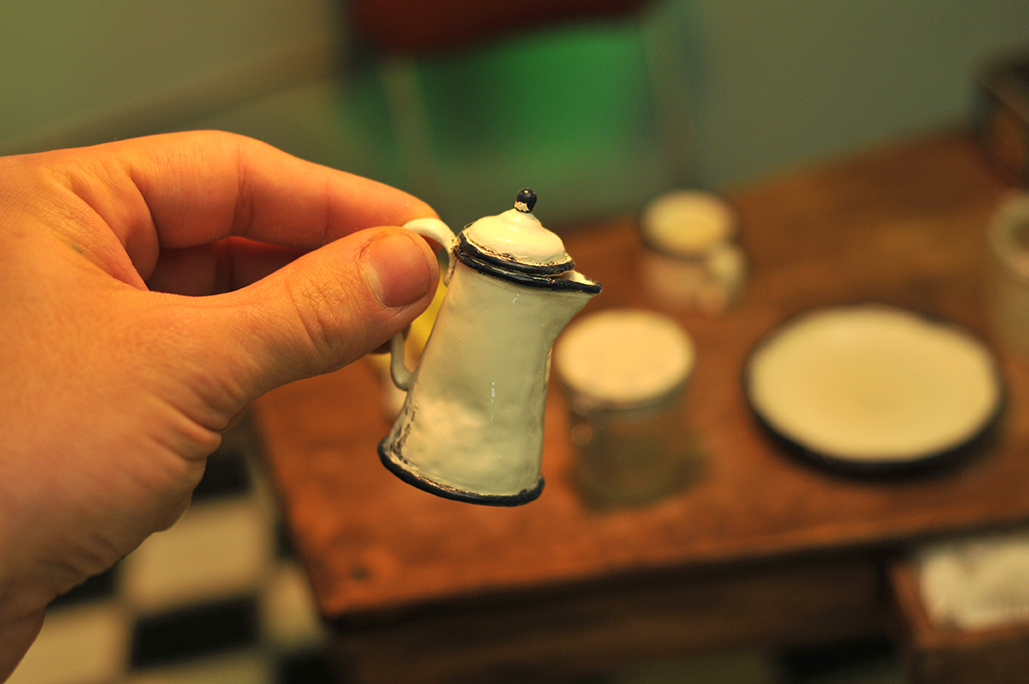
hand made props
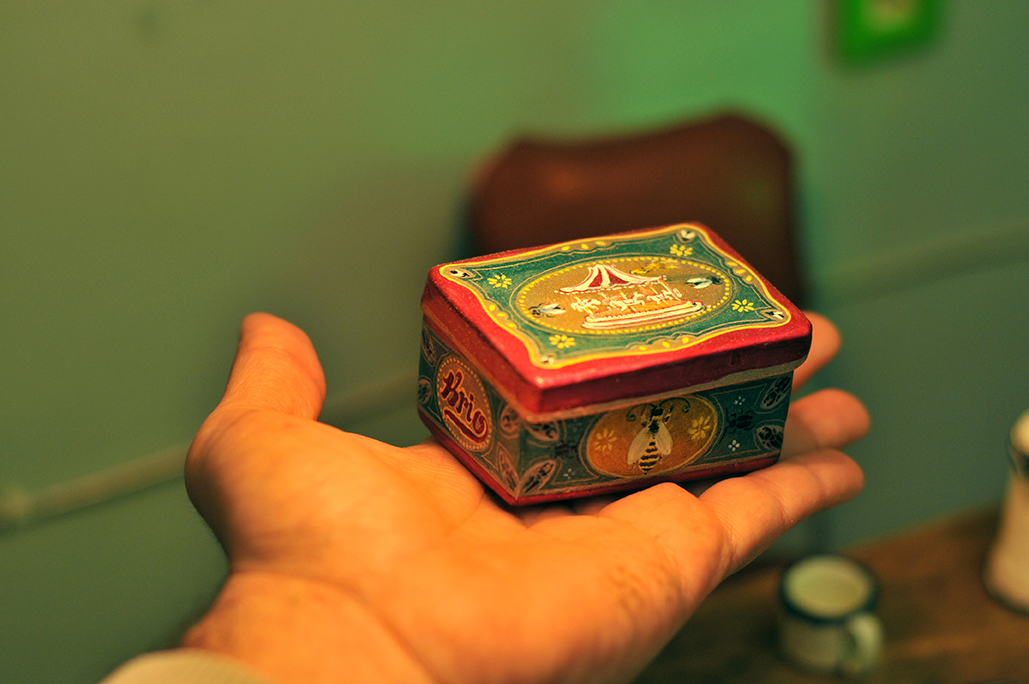
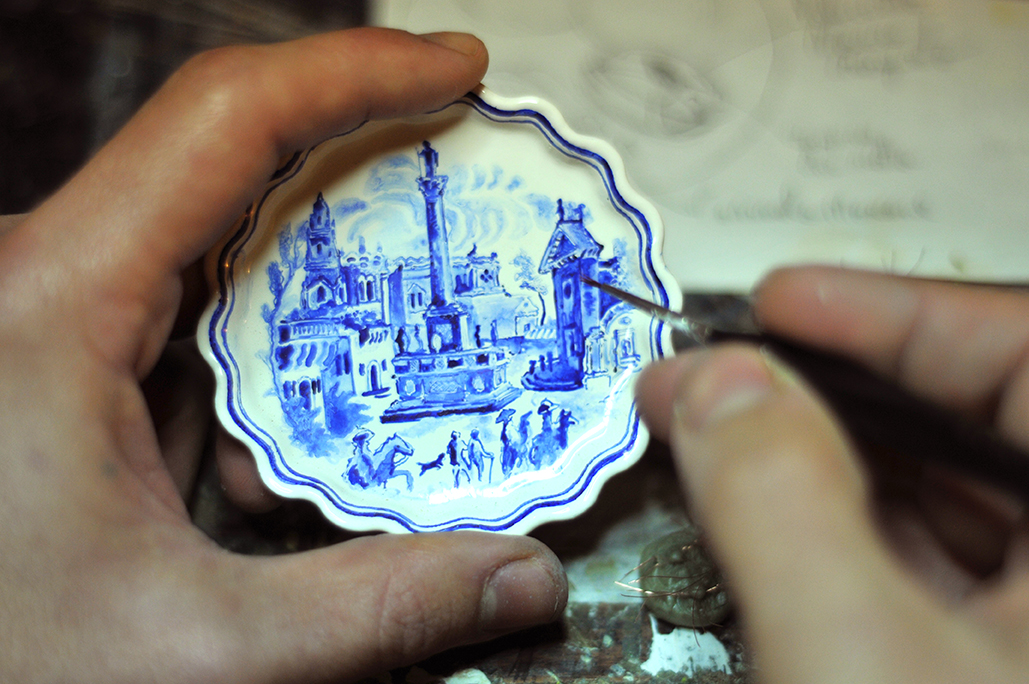
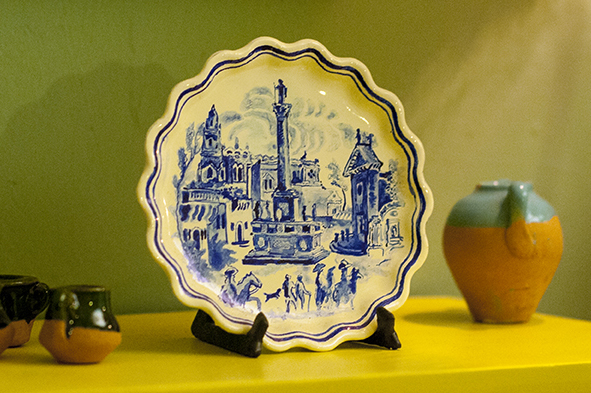
pottery
A little tribute (litterally little) to my home town Maglie.
This little southern town has been reproduced in many blue printed porcelains, from Italy, England, France and U.S.A.
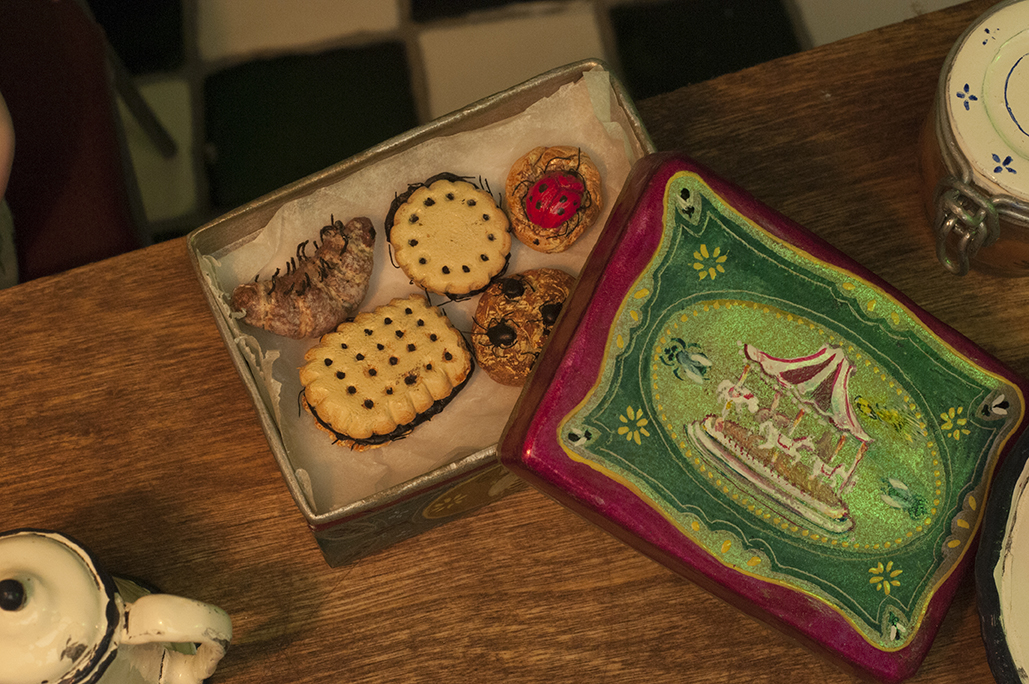
hand made resin tea drops


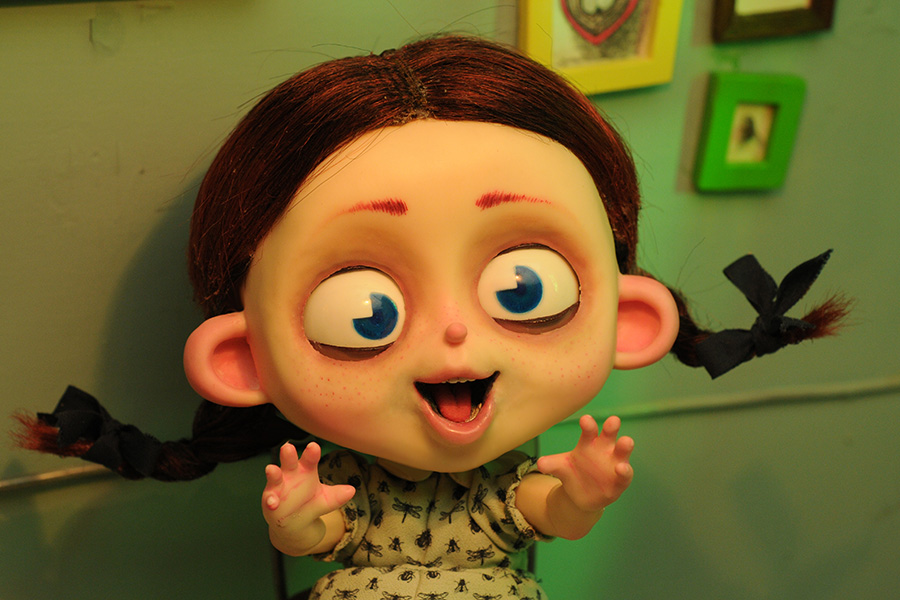
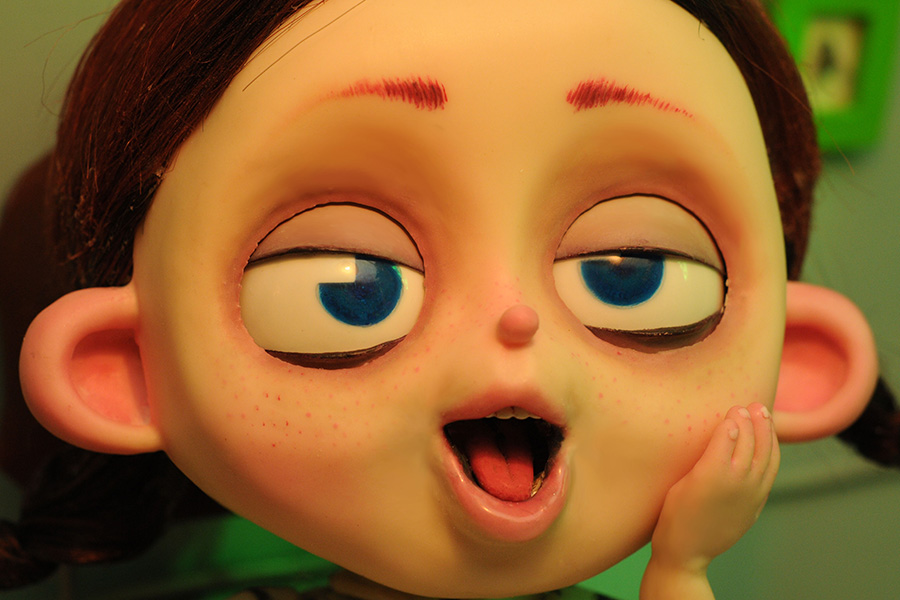
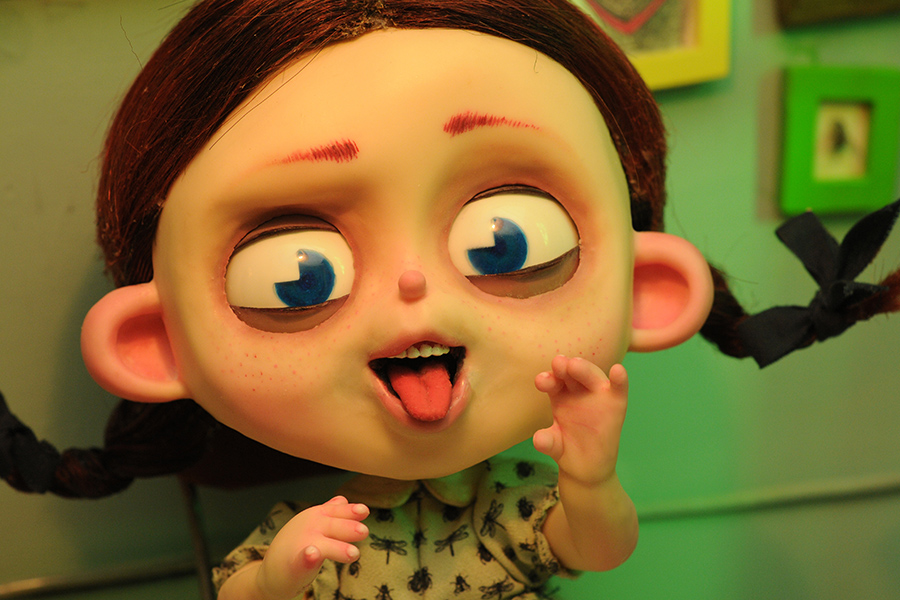
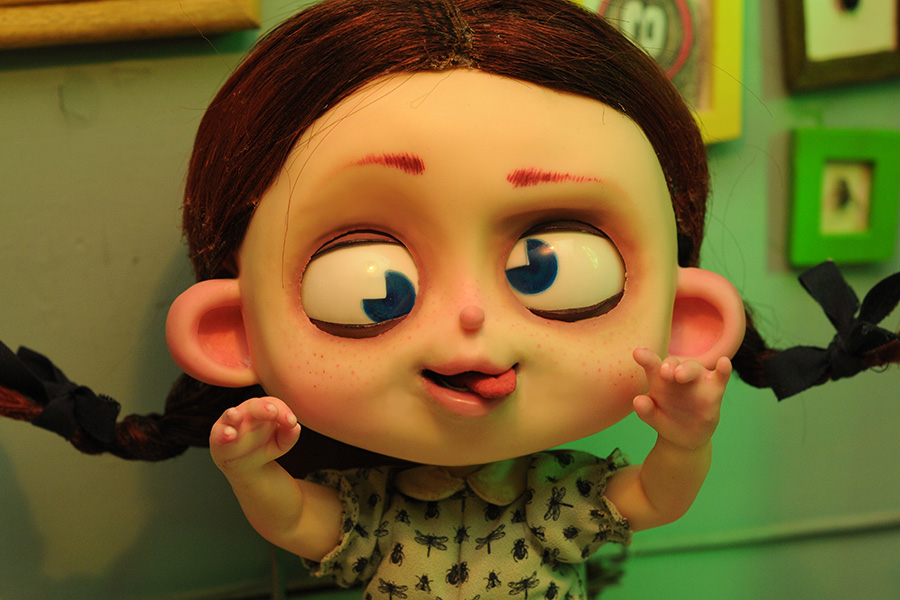
grimaces
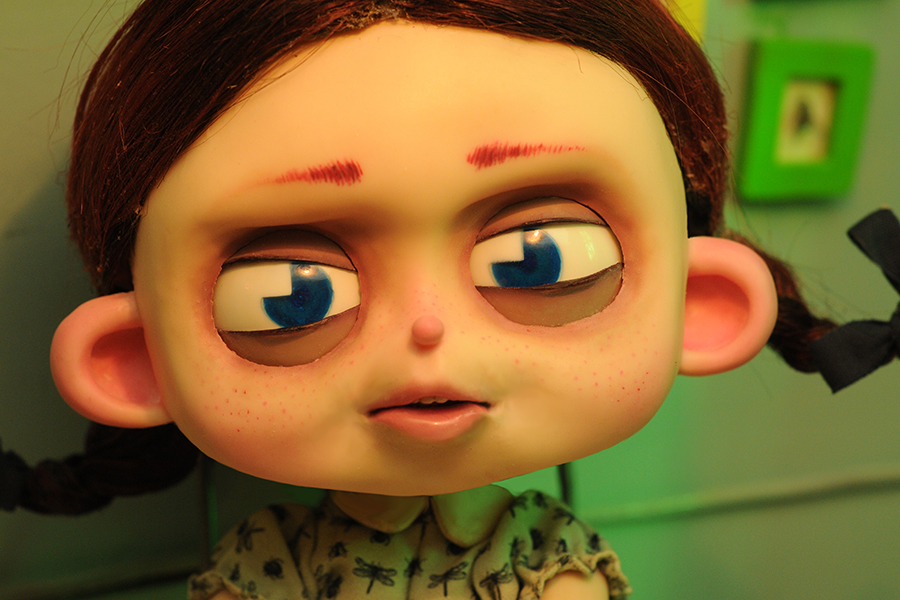
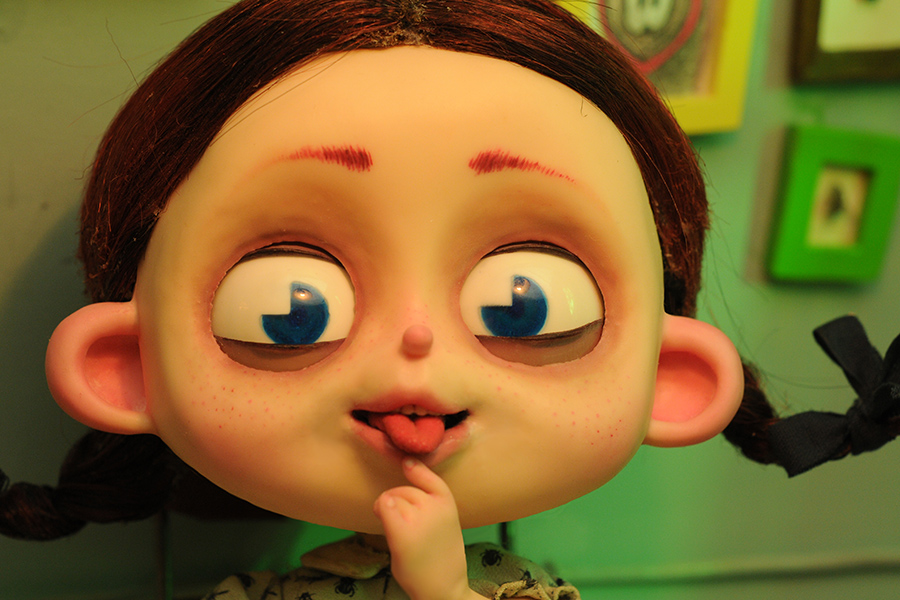
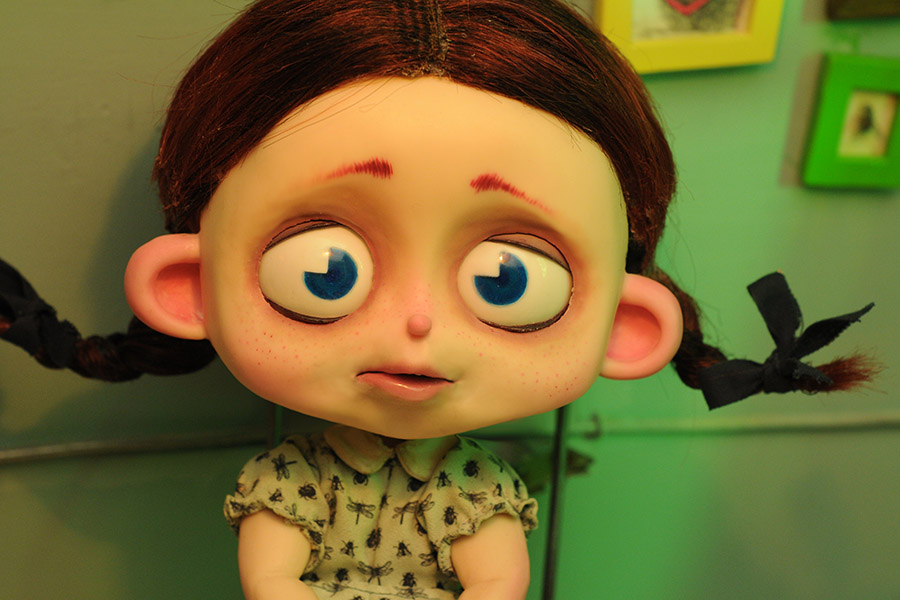
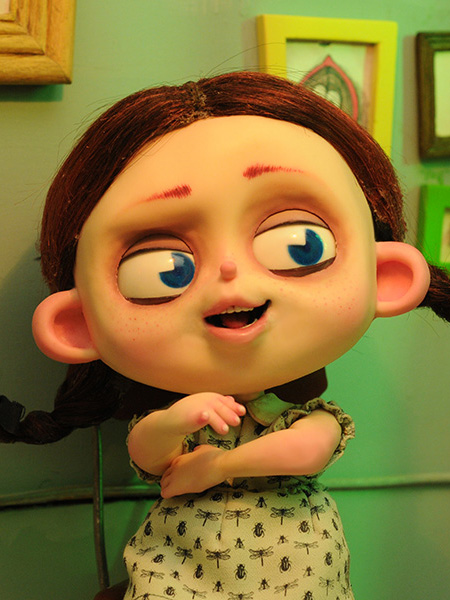
the diva needs resting